As an affiliate, we may earn a commission from qualifying purchases. We get commissions for purchases made through links on this website from Amazon and other third parties.
If you've been looking to expand your cooking repertoire with your Philips Air Fryer, you've come to the right place. You'll find that air frying not only delivers on taste but also on health, making it a versatile tool in your kitchen. From crispy French fries to succulent chicken wings, there's a range of recipes that can transform your meals. But that's just the beginning—imagine the flavors and textures you can achieve with just a bit of creativity and the right ingredients. What will you choose to try first?
Key Takeaways
- Try Air Fryer French Fries for a healthier, crispy alternative, cooked in just 15-20 minutes at 380°F (193°C).
- Enjoy Juicy Chicken Wings that lock in flavor without deep frying, ready in 25-30 minutes at 400°F (200°C).
- Make Healthy Veggie Chips from kale or sweet potatoes, customizable with your favorite seasonings, cooked in 10-15 minutes at 375°F (190°C).
- Prepare Stuffed Bell Peppers filled with vegetables and grains, taking only 12-15 minutes at 350°F (175°C) for a versatile meal.
- Bake a moist Chocolate Cake quickly in the air fryer, using common baking ingredients for a delicious dessert.
Crispy Air Fryer French Fries
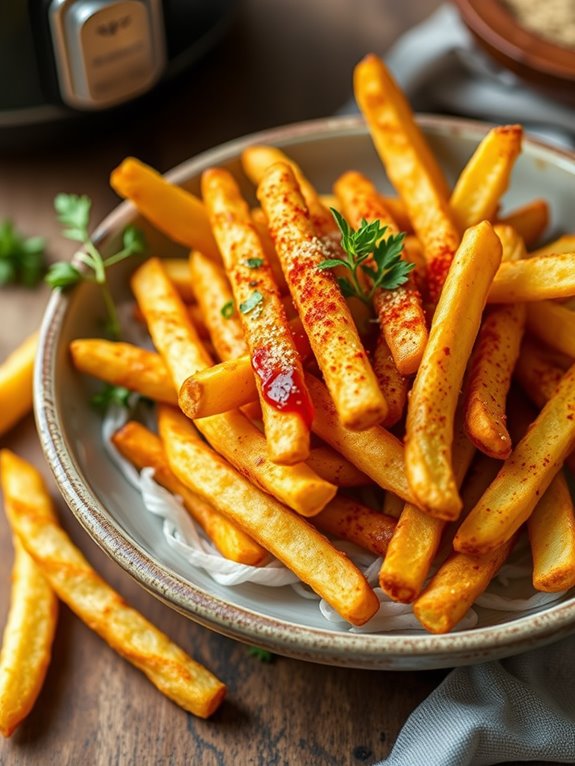
Crispy air fryer French fries are a delicious and healthier alternative to traditional deep-fried fries. With the air fryer, you can achieve that perfect golden crispiness without using excessive oil. This method locks in flavor while cutting down on fat, making it a guilt-free option for snack time or as a side dish to your favorite meal.
Plus, they're incredibly easy to prepare and cook in just a fraction of the time it takes to deep fry. To enhance the flavor, you can customize your fries with various seasonings or dip them in your favorite sauces. Whether you're serving them as a side with burgers, enjoying them with a homemade dip, or snacking on them solo, air fryer French fries are sure to please everyone at the table. Regular use of an air fryer can also support weight management by promoting a balanced diet with lower-fat cooking methods.
Get ready to enjoy a tasty treat that's quick and simple to make!
Ingredients:
- 2 large russet potatoes
- 1 tablespoon olive oil
- 1 teaspoon salt
- 1/2 teaspoon paprika (optional)
- 1/2 teaspoon garlic powder (optional)
- Freshly ground black pepper (to taste)
Cooking Instructions:
- Begin by peeling the potatoes and cutting them into evenly sized sticks, about 1/4 inch thick. To achieve extra crispiness, soak the cut fries in cold water for at least 30 minutes to remove excess starch. After soaking, drain and pat them dry with paper towels.
- In a large bowl, toss the dried potato sticks with olive oil, salt, and any optional seasonings you choose. Make certain each fry is well-coated. Preheat your air fryer to 380°F (193°C) for about 5 minutes. Once preheated, place the fries in the air fryer basket in a single layer, making sure not to overcrowd them.
- Cook the fries for 15-20 minutes, shaking the basket halfway through to guarantee even cooking. Keep an eye on them towards the end to achieve your desired level of crispness.
Extra Tips:
For even crispier fries, consider lightly dusting them with cornstarch before tossing them in oil. You can also experiment with different types of potatoes, like sweet potatoes or Yukon golds, for a unique flavor twist.
Always remember that cooking times may vary depending on your air fryer model, so adjust accordingly to avoid overcooking. Enjoy your perfectly crispy air fryer French fries!
Juicy Chicken Wings
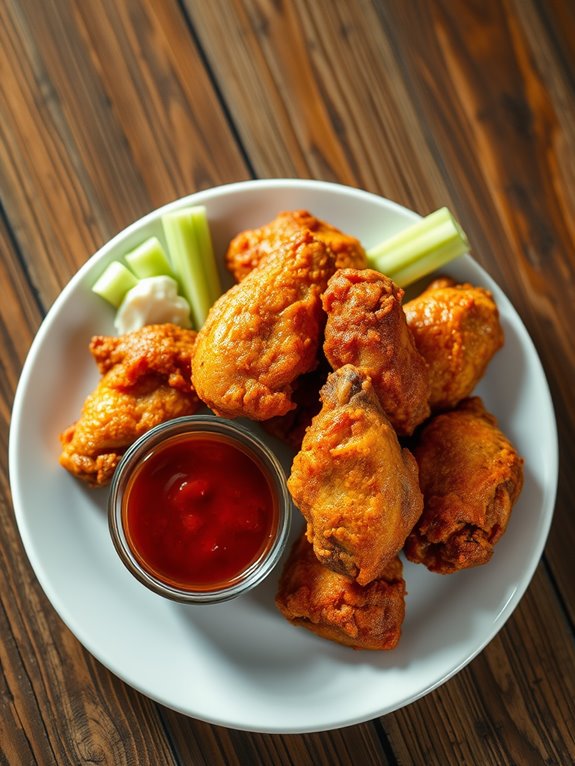
Juicy chicken wings are a favorite for many, whether for game day, a casual dinner, or a festive gathering. Cooking them in an air fryer not only makes them incredibly crispy but also helps to lock in their juicy flavor without the need for deep frying. The result is a healthier and equally delicious version of this classic dish that everyone will love.
With the air fryer, you can achieve perfectly cooked chicken wings in less time than traditional methods. The hot air circulation guarantees that every wing is evenly cooked, with a delightful crispy exterior and tender, juicy meat inside. Pair them with your favorite sauce or enjoy them plain with a side of dipping sauce for the ultimate treat. Additionally, air frying reduces calorie intake by 70-80% compared to deep frying.
Ingredients:
- 2 pounds chicken wings
- 1 tablespoon olive oil
- 1 teaspoon garlic powder
- 1 teaspoon onion powder
- 1 teaspoon smoked paprika
- 1/2 teaspoon salt
- 1/2 teaspoon black pepper
- Your favorite wing sauce (optional)
Cooking Instructions:
Start by preheating your air fryer to 400°F (200°C). While the air fryer is heating up, rinse the chicken wings and pat them dry with paper towels.
In a large bowl, toss the wings with olive oil, garlic powder, onion powder, smoked paprika, salt, and black pepper until they're evenly coated. This seasoning blend will enhance the flavor of the wings and create a delicious crust as they cook.
Once the air fryer is preheated, arrange the wings in a single layer in the basket. Depending on the size of your air fryer, you may need to cook them in batches to avoid overcrowding.
Cook the wings for 25-30 minutes, flipping them halfway through to guarantee even cooking. Once they're golden brown and crispy, remove them from the air fryer and toss them in your favorite wing sauce if desired before serving.
Extra Tips:
For an extra crispy finish, you can increase the cooking time by a few minutes, but be sure to keep an eye on them to prevent burning.
If you want to make them spicy, consider adding cayenne pepper to your seasoning mix. Additionally, marinating the wings for a few hours before cooking can further enhance the flavor and juiciness.
Enjoy your air-fried chicken wings with celery sticks and blue cheese dressing for a classic touch!
Healthy Veggie Chips
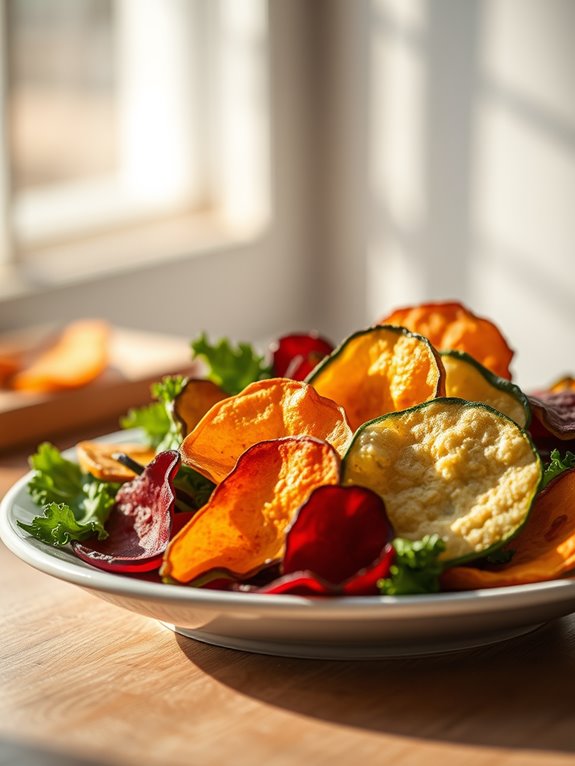
Healthy Veggie Chips
Making healthy veggie chips in an air fryer isn't only simple but also a delicious way to enjoy your favorite vegetables. These crispy snacks are perfect for satisfying your cravings without the guilt. You can use a variety of vegetables such as kale, sweet potatoes, zucchini, and beets to create a colorful and nutritious blend. The air fryer circulates hot air, allowing you to achieve that perfect crunch with minimal oil.
In addition to being a fantastic snack on their own, veggie chips can also be used as a crunchy topping for salads, soups, or even dips. This recipe allows you to experiment with different seasoning combinations, making it easy to tailor the flavors to your personal preference. Whether you're looking for a healthy alternative to traditional chips or simply want to incorporate more vegetables into your diet, air-fried veggie chips are a fantastic choice. Using air fryer accessories can enhance your cooking experience and help you achieve optimal results.
Ingredients:
- 2 cups of vegetables (kale, sweet potatoes, zucchini, beets)
- 1 tablespoon olive oil
- 1 teaspoon salt
- 1 teaspoon garlic powder (optional)
- 1 teaspoon paprika (optional)
- 1 teaspoon black pepper (optional)
Cooking Instructions:
- Begin by washing and thoroughly drying your chosen vegetables. For sweet potatoes, slice them into thin rounds, while kale can be torn into bite-sized pieces, and zucchini should be sliced thinly as well. For beets, make sure to peel and slice them thinly.
- In a large bowl, toss the sliced vegetables with olive oil, guaranteeing each piece is evenly coated. Add salt and any additional seasonings you prefer, mixing well to distribute the flavors.
- Preheat your air fryer to 375°F (190°C). Place the vegetable slices in a single layer in the fryer basket, working in batches if necessary to avoid overcrowding. Cook for 10-15 minutes, shaking the basket halfway through to guarantee even cooking. Keep an eye on them as cooking times may vary depending on the vegetable type and thickness of the slices.
Extra Tips:
For the best results, make sure to slice your vegetables uniformly to confirm they cook evenly. It's also important to avoid overcrowding the air fryer basket, as this can lead to soggy chips instead of crispy ones.
If you want to enhance the flavor, consider sprinkling the chips with fresh herbs or a squeeze of lemon juice after cooking. Store any leftover chips in an airtight container to maintain their crunchiness. Enjoy your healthy veggie chips as a guilt-free snack!
Air Fryer Salmon Fillets
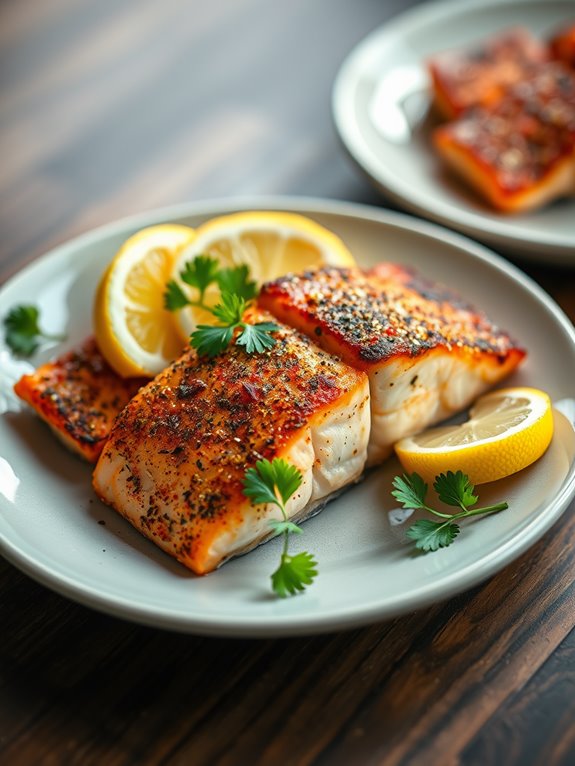
Cooking salmon fillets in an air fryer is a quick and healthy way to enjoy this delicious fish while preserving its natural flavors and nutrients. The air fryer circulates hot air around the salmon, creating a crispy exterior while keeping the inside tender and moist. This method not only saves time but also reduces the amount of oil needed compared to traditional frying or baking methods. Additionally, using an air fryer promotes healthier cooking with reduced oil usage, making it a great choice for health-conscious meals.
With the right seasoning and cooking time, you can achieve perfectly cooked salmon fillets every time. Whether you prefer them seasoned simply with salt and pepper or topped with a zesty marinade, air frying is versatile enough to accommodate various flavor profiles. So, let's plunge into this easy and delightful recipe for air fryer salmon fillets.
Ingredients:
- 2 salmon fillets
- 1 tablespoon olive oil
- 1 teaspoon garlic powder
- 1 teaspoon paprika
- Salt and pepper to taste
- Lemon wedges (for serving)
- Fresh parsley (for garnish)
Cooking Instructions:
Begin by preheating your air fryer to 400°F (200°C). Pat the salmon fillets dry with paper towels to remove excess moisture, making sure they crisp up nicely.
In a small bowl, mix together the olive oil, garlic powder, paprika, salt, and pepper. Rub this mixture evenly over both sides of the salmon fillets.
Carefully place the seasoned fillets in the air fryer basket, making sure they aren't touching to allow for proper air circulation. Cook the salmon for about 8-10 minutes, depending on the thickness of the fillets, or until the internal temperature reaches 145°F (63°C).
Once cooked, remove the salmon from the air fryer and let it rest for a couple of minutes. Serve with lemon wedges and garnish with fresh parsley for an added touch.
Extra Tips:
For the best results, choose salmon fillets that are uniform in thickness to guarantee even cooking. You can customize the seasoning to your taste—try adding herbs such as dill or thyme for a fresh twist.
If you prefer a crispier skin, cook the fillets skin-side up for the first half of the cooking time, then flip them to finish. Remember to monitor the cooking time closely, as air fryers can vary in performance. Enjoy your perfectly cooked air fryer salmon!
Stuffed Bell Peppers
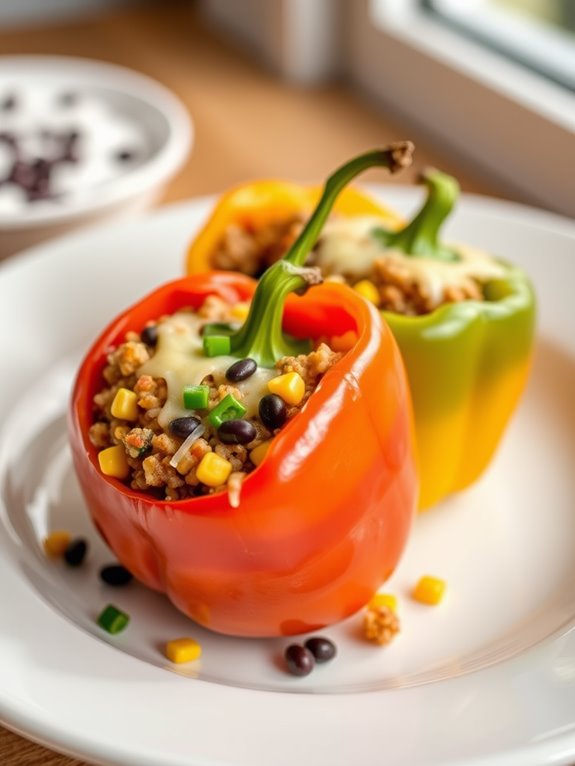
Stuffed bell peppers are a versatile and delicious dish that can be easily prepared in an air fryer. This recipe combines the vibrant flavors of fresh vegetables, hearty grains, and protein, making them a wholesome meal option.
With their colorful presentation and satisfying filling, stuffed bell peppers are perfect for both family dinners and meal prep. Plus, cooking them in an air fryer markedly reduces the cooking time while still achieving that delightful tender-crisp texture. The Ninja Air Fryer, known for its Even Crisp Technology, ensures consistent heat distribution for even better results.
This recipe is adaptable to suit various dietary preferences, allowing you to customize the filling to include your favorite ingredients. Whether you prefer ground beef, turkey, or even a plant-based protein, the options are endless.
These stuffed bell peppers can be served as a main dish or a side, and they can be easily reheated for leftovers throughout the week.
Ingredients:
- 4 large bell peppers (any color)
- 1 cup cooked quinoa or rice
- 1 cup cooked ground meat (beef, turkey, or plant-based)
- 1 cup black beans, drained and rinsed
- 1 cup corn, frozen or canned
- 1 teaspoon chili powder
- 1 teaspoon cumin
- 1 cup salsa
- 1 cup shredded cheese (cheddar or Mexican blend)
- Salt and pepper to taste
- Fresh cilantro or parsley for garnish (optional)
To prepare the stuffed bell peppers, start by preheating your air fryer to 350°F (175°C). While the air fryer is heating, slice the tops off the bell peppers and remove the seeds and membranes.
In a large mixing bowl, combine the cooked quinoa or rice, ground meat, black beans, corn, chili powder, cumin, salsa, and half of the shredded cheese. Season the mixture with salt and pepper to taste. Once everything is well combined, generously fill each bell pepper with the mixture.
Place the stuffed bell peppers in the air fryer basket, ensuring they're standing upright. Cook them at 350°F (175°C) for about 12-15 minutes, or until the peppers are tender and the filling is heated through.
In the last 3 minutes of cooking, sprinkle the remaining cheese on top of each pepper and allow it to melt. Once done, carefully remove the peppers from the air fryer and let them cool slightly before serving. Garnish with fresh cilantro or parsley if desired.
Extra Tips: For added flavor, you can sauté some onions and garlic in a pan before mixing them into the filling. You can also experiment with different seasonings or add ingredients like diced tomatoes or chopped spinach.
If you prefer your peppers to be softer, cook them for a few additional minutes in the air fryer. Enjoy your stuffed bell peppers as a nutritious and satisfying meal!
Classic Meatballs
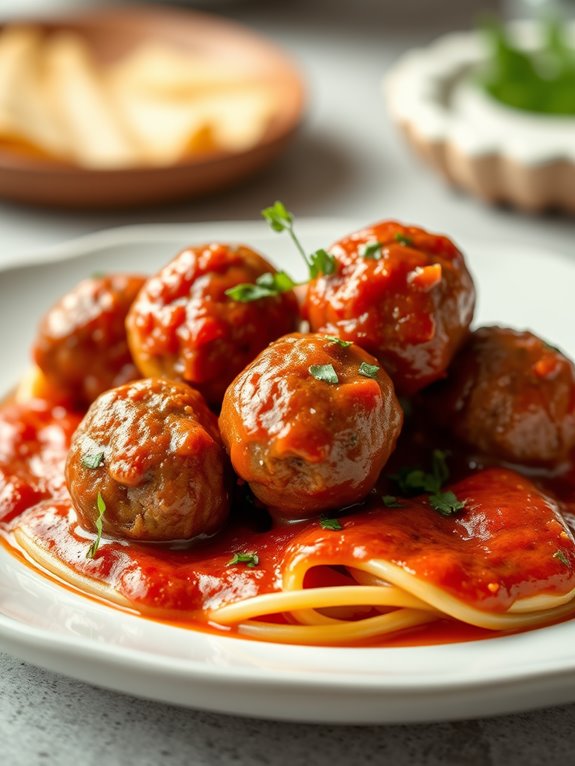
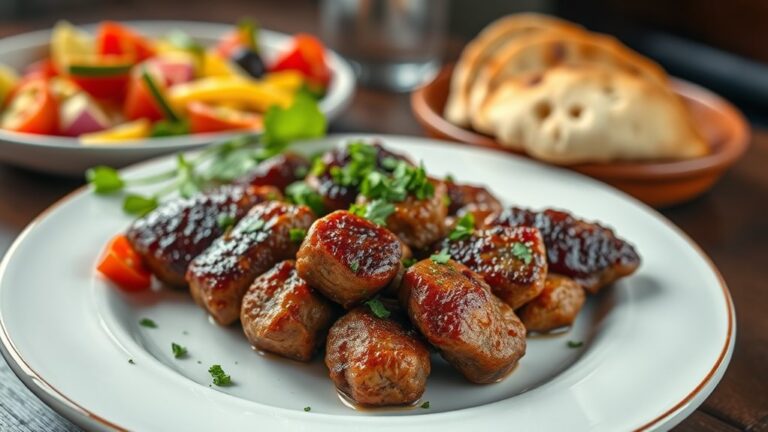
Classic meatballs are a timeless dish that can be enjoyed in a variety of ways. Whether served with spaghetti and marinara sauce, in a sub sandwich, or as an appetizer with toothpicks, meatballs are a crowd-pleaser for any occasion. Using an air fryer to cook these meatballs not only reduces the cooking time but also results in a crispy exterior while keeping the inside juicy and flavorful.
Making meatballs from scratch allows you to customize the flavors to your liking. This recipe uses a blend of ground beef and pork for a rich taste, combined with breadcrumbs, herbs, and spices. The air fryer cooks these meatballs evenly and quickly, making them a perfect option for busy weeknights or entertaining guests.
Ingredients:
- 1 pound ground beef
- 1/2 pound ground pork
- 1 cup breadcrumbs
- 1/4 cup grated Parmesan cheese
- 1/4 cup chopped fresh parsley
- 1/4 cup chopped onion
- 2 cloves garlic, minced
- 1 large egg
- 1 teaspoon salt
- 1/2 teaspoon black pepper
- 1 teaspoon Italian seasoning
- Cooking spray
To prepare the meatballs, start by combining the ground beef, ground pork, breadcrumbs, Parmesan cheese, parsley, onion, garlic, egg, salt, pepper, and Italian seasoning in a large mixing bowl. Use your hands to mix the ingredients until just combined; be careful not to overmix, as this can make the meatballs tough.
Once mixed, form the mixture into meatballs, about 1 to 1.5 inches in diameter. Preheat the air fryer to 400°F (200°C). Lightly spray the air fryer basket with cooking spray to prevent sticking. Place the meatballs in a single layer in the basket, making sure to leave space between each one for even cooking.
Air fry the meatballs for 10-12 minutes, turning halfway through, until they're browned and cooked through (internal temperature should reach 160°F or 70°C). For the best results, always check for doneness with a meat thermometer, and adjust cooking time as needed based on the size of your meatballs. If you want even more flavor, consider adding a splash of your favorite sauce over the meatballs during the last few minutes of cooking.
Extra Tips:
To guarantee your meatballs are tender and not dry, avoid compacting the mixture too tightly when forming them. If desired, you can make the meatballs ahead of time and freeze them before cooking. Just cook from frozen, adding a few extra minutes to the cooking time. Using air fryer liners can simplify cleanup and enhance your cooking experience. Experiment with different herbs and spices to create your own signature flavor!
Sweet Potato Fries
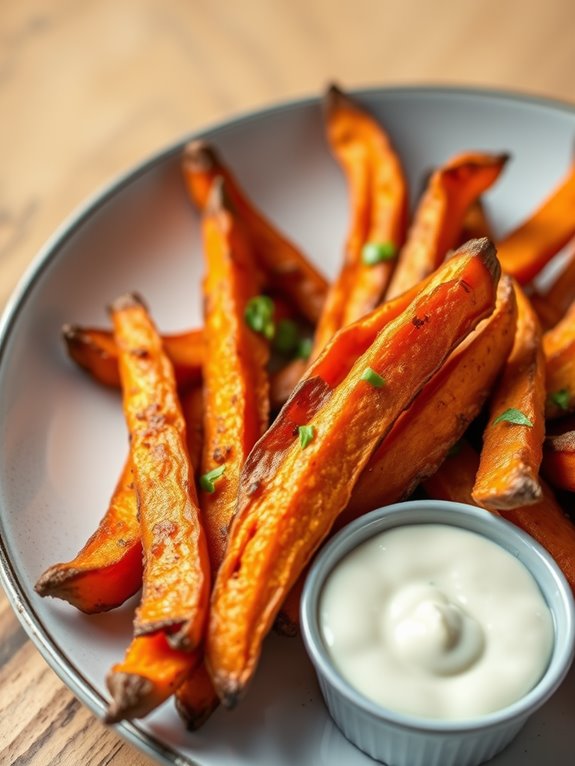
Sweet potato fries are a delicious and healthier alternative to traditional French fries. They're naturally sweet, packed with nutrients, and have a delightful crispiness when cooked in an air fryer.
Whether you're serving them as a side dish, a snack, or part of a party platter, these fries are bound to be a hit with everyone. Plus, making them in an air fryer means less oil and a quicker cooking time, allowing you to enjoy this tasty treat without the guilt. Using silicone air fryer liners can also help maintain the cleanliness of your air fryer while enhancing your cooking experience.
To achieve the perfect sweet potato fries, it's important to cut the sweet potatoes evenly to guarantee they cook at the same rate. Additionally, soaking the cut fries in water for about 30 minutes can help achieve that extra crispy texture by removing excess starch.
With just a few simple ingredients and minimal preparation, you can whip up a batch of these tasty fries in no time.
Ingredients:
- 2 large sweet potatoes
- 2 tablespoons olive oil
- 1 teaspoon paprika
- 1 teaspoon garlic powder
- Salt and pepper to taste
- Optional: Fresh herbs or spices for additional flavor
Instructions:
- Begin by washing and peeling the sweet potatoes. Cut them into thin strips, about ¼ inch thick, to guarantee they cook evenly.
- Soak the cut sweet potato fries in water for 30 minutes to remove excess starch, then drain and pat them dry with a paper towel.
- In a large bowl, toss the sweet potato fries with olive oil, paprika, garlic powder, salt, and pepper until evenly coated.
- Preheat your air fryer to 400°F (200°C) for about 5 minutes. Once preheated, place the sweet potato fries in a single layer in the air fryer basket. You may need to cook them in batches depending on the size of your air fryer.
- Cook the fries for 15-20 minutes, shaking the basket halfway through to guarantee even cooking. They should be golden brown and crispy when done.
Extra Tips:
To enhance the flavor of your sweet potato fries, consider experimenting with different spices or seasonings. You can try adding cayenne pepper for a kick or cinnamon for a sweeter touch.
Additionally, serve them with dipping sauces such as garlic aioli, ranch dressing, or a spicy ketchup for a delicious twist. Remember to keep an eye on them towards the end of cooking, as air fryers can vary in temperature and cooking time.
Enjoy your crispy and flavorful sweet potato fries!
Garlic Parmesan Cauliflower
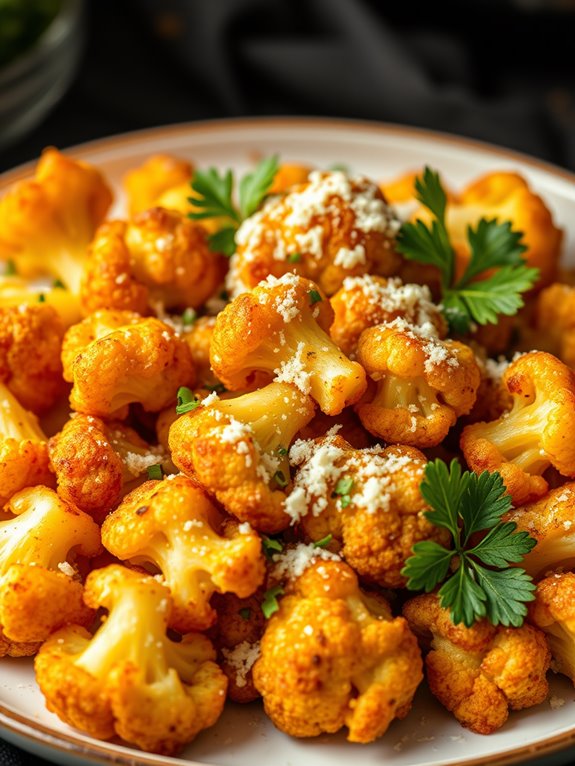
Garlic Parmesan Cauliflower is a delicious and healthy side dish that perfectly balances the rich flavors of garlic and Parmesan cheese with the mild taste of cauliflower. This recipe isn't only quick to prepare, but it also takes advantage of the air fryer, which cooks the cauliflower to crispy perfection while keeping it tender inside. The air fryer allows for a healthier alternative to traditional frying methods, making it ideal for those looking to enjoy crispy foods without the excess oil.
Whether you're serving it alongside a main dish or enjoying it as a snack, this dish is sure to be a crowd-pleaser. This recipe is also versatile; you can easily customize it by adding your favorite spices or herbs. The air fryer provides a healthier alternative to traditional frying methods, allowing you to enjoy the satisfying crunch without the excess oil.
So, let's plunge into how to make this scrumptious Garlic Parmesan Cauliflower!
Ingredients:
- 1 head of cauliflower, cut into florets
- 3 tablespoons olive oil
- 4 cloves garlic, minced
- 1/2 cup grated Parmesan cheese
- 1 teaspoon garlic powder
- 1 teaspoon onion powder
- Salt and pepper, to taste
- Fresh parsley, chopped (for garnish)
Instructions:
Start by preheating your air fryer to 400°F (200°C). In a large mixing bowl, combine the cauliflower florets with olive oil, minced garlic, garlic powder, onion powder, salt, and pepper. Toss everything together until the cauliflower is evenly coated with the oil and seasonings.
Next, sprinkle the grated Parmesan cheese over the coated cauliflower and mix gently to guarantee an even distribution. Place the seasoned cauliflower in the air fryer basket in a single layer. Cook for about 12-15 minutes, shaking the basket halfway through to guarantee even cooking.
The cauliflower should be golden brown and crispy when done. Once cooked, remove the cauliflower from the air fryer and garnish with fresh parsley before serving.
Extra Tips:
For an extra kick of flavor, consider adding a pinch of red pepper flakes or a squeeze of lemon juice before serving. You can also substitute the Parmesan cheese with a dairy-free alternative if you're looking for a vegan option.
Make sure not to overcrowd the air fryer basket, as this can prevent the cauliflower from getting crispy. Enjoy your Garlic Parmesan Cauliflower as a healthy snack or a delightful side dish with your favorite meal!
Air Fryer Tacos
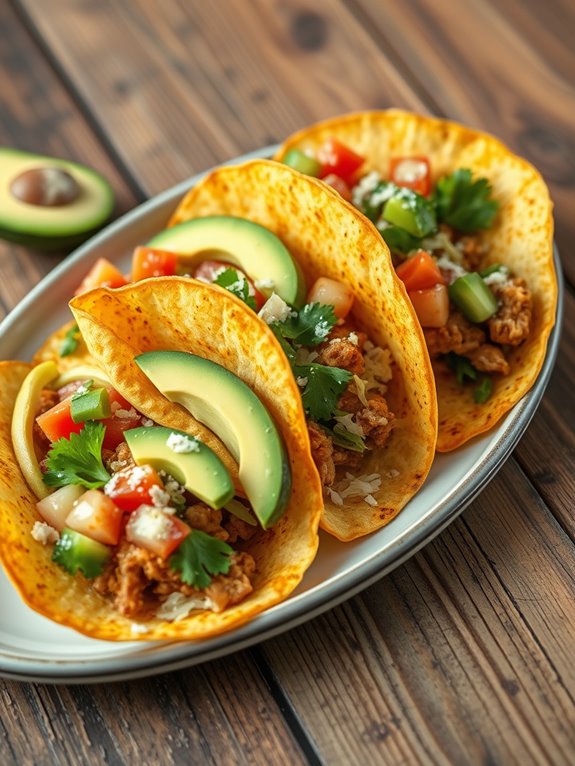
Air fryer tacos are a delightful twist on the classic taco, offering a healthier option without sacrificing flavor. By using the air fryer, you can achieve a crispy taco shell while keeping the filling juicy and packed with flavor. This recipe is quick and easy to prepare, making it a perfect meal for busy weeknights or a fun weekend treat. Gather your ingredients and get ready to enjoy a delicious, guilt-free taco night!
The beauty of air fryer tacos lies in their versatility. You can customize the filling with your favorite proteins, vegetables, and seasonings. Whether you prefer seasoned beef, shredded chicken, or a vegetarian option, this recipe allows you to create a taco that suits your taste. Serve them up with fresh toppings like avocado, salsa, and cheese for a complete meal that everyone will love. Additionally, using an air fryer can help reduce fat by up to 75% compared to traditional frying methods, making your taco night even healthier!
Mini Quiches

Mini quiches are a delightful and versatile dish that can be enjoyed for breakfast, brunch, or as a savory snack. These bite-sized treats are easy to prepare and can be customized with a variety of fillings to suit your taste. Using an air fryer to cook them guarantees a crispy crust and fluffy filling without the need for excessive oil, making them a healthier option than traditional baking methods. Additionally, using an air fryer liner can help simplify cleanup and protect your air fryer basket from grease and food residue.
Whether you choose to fill your mini quiches with vegetables, cheese, or meats, the possibilities are endless. They can be made ahead of time and stored in the refrigerator for a quick meal or snack on the go. Plus, they're perfect for gatherings, as they can be served warm or at room temperature.
Ingredients:
- 4 large eggs
- ½ cup milk
- 1 cup shredded cheese (cheddar, mozzarella, or your choice)
- 1 cup diced vegetables (bell peppers, spinach, onions, etc.)
- ½ cup cooked and crumbled bacon or sausage (optional)
- Salt and pepper to taste
- 1 package of pre-made pastry dough or phyllo dough (cut into small rounds)
Cooking Instructions:
- Preheat your air fryer to 300°F (150°C). While it heats, prepare your filling by whisking together the eggs and milk in a mixing bowl. Stir in the cheese, diced vegetables, cooked meat (if using), salt, and pepper until well combined.
- Cut the pastry dough into small rounds that fit into your air fryer's compartments or muffin tins. Gently press the rounds into the bottom and sides of each compartment to form a crust. Pour the egg mixture into each pastry shell, filling them about ¾ full.
- Place the filled muffin tin or individual cups into the air fryer basket. Cook for 12-15 minutes, or until the egg is set and the tops are lightly golden. Allow the mini quiches to cool for a few minutes before removing them from the tin.
Extra Tips:
For variety, feel free to experiment with different cheeses, herbs, and spices to enhance the flavor of your mini quiches. You can also make them ahead of time and reheat them in the air fryer for a quick and easy meal.
If you prefer a crustless option, simply pour the egg mixture directly into greased muffin tins and skip the pastry altogether for a gluten-free version. Enjoy your delicious air-fried mini quiches!
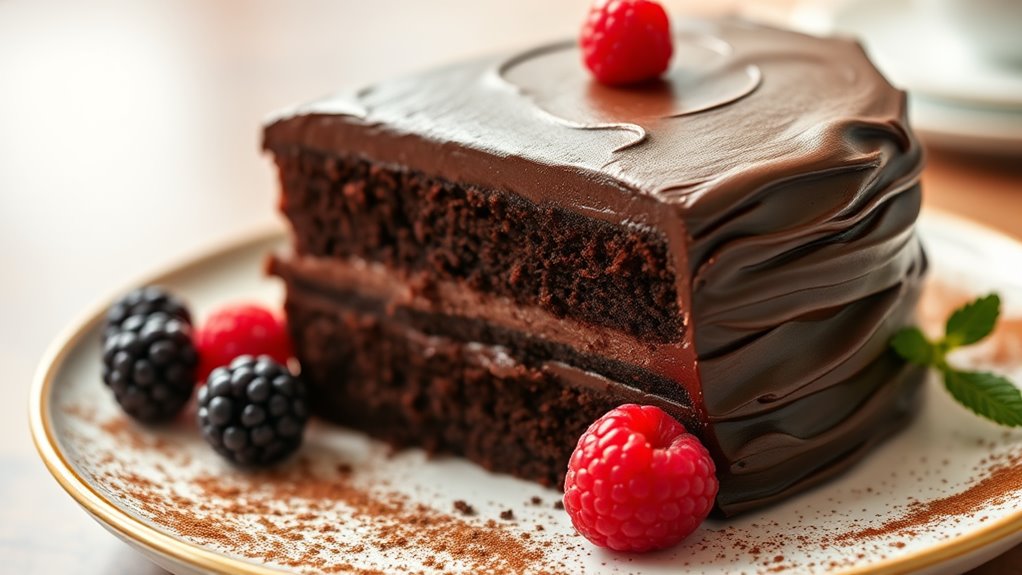
Decadent Chocolate Cake
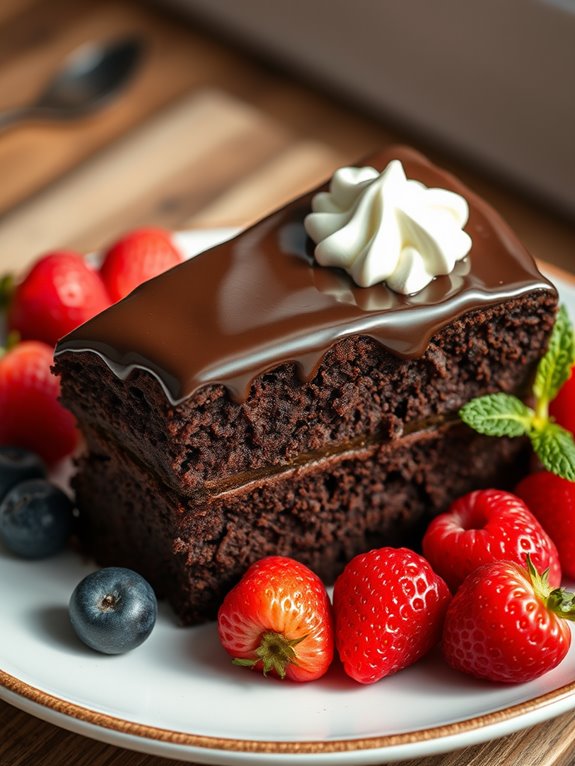
Indulging in a decadent chocolate cake is a delightful experience that can be achieved effortlessly with an air fryer. This method not only provides a moist and rich texture but also considerably reduces the cooking time compared to traditional baking methods.
The air fryer's ability to circulate hot air guarantees that every bite of this chocolate cake is perfectly cooked, leaving you with a dessert that's both satisfying and impressive.
This chocolate cake recipe is perfect for any occasion, whether it's a birthday celebration, a cozy family dinner, or simply a treat for yourself. With minimal preparation time and simple ingredients, you can whip up a cake that's sure to please everyone.
So, gather your ingredients and let's get started on this deliciously rich chocolate creation!
Ingredients:
- 1 cup all-purpose flour
- 1 cup granulated sugar
- 1/2 cup unsweetened cocoa powder
- 1/2 cup vegetable oil
- 1/2 cup buttermilk
- 2 large eggs
- 1 tsp vanilla extract
- 1 tsp baking soda
- 1/2 tsp baking powder
- 1/4 tsp salt
- 1/2 cup boiling water
Instructions:
Begin by preheating your air fryer to 320°F (160°C).
In a large mixing bowl, combine the flour, sugar, cocoa powder, baking soda, baking powder, and salt. Mix well until all dry ingredients are thoroughly combined.
In a separate bowl, whisk together the vegetable oil, buttermilk, eggs, and vanilla extract. Gradually add the wet ingredients to the dry ingredients, mixing until just combined.
Finally, stir in the boiling water until the batter is smooth.
Pour the batter into a greased 7-inch round cake pan that fits in your air fryer basket. Place the cake pan in the preheated air fryer and cook for 25-30 minutes, or until a toothpick inserted in the center comes out clean.
Once done, carefully remove the cake from the air fryer and allow it to cool in the pan for about 10 minutes before transferring it to a wire rack to cool completely.
Extra Tips:
To elevate your chocolate cake, consider adding chocolate chips to the batter or drizzling a rich chocolate ganache on top once it's cooled.
You can also enhance the flavor with a sprinkle of sea salt or serve it with whipped cream and fresh berries for a beautiful presentation.
Always keep an eye on the cooking time, as air fryers can vary in temperature and cooking efficiency. Enjoy your deliciously decadent chocolate cake!
Frequently Asked Questions
Can I Use Aluminum Foil in My Air Fryer?
Did you know that 70% of air fryer users prefer using aluminum foil for easier cleanup? Yes, you can use aluminum foil in your air fryer, but make sure it's secured and doesn't block airflow.
How Do I Clean My Phillips Air Fryer?
To clean your Phillips air fryer, unplug it and let it cool. Remove the basket and pan, wash them with warm, soapy water, and wipe down the interior with a damp cloth. Avoid abrasive cleaners.
What Are the Best Accessories for My Air Fryer?
To enhance your air frying experience, consider getting silicone mats for easy cleanup, a grill pan for perfect steaks, and a set of skewers for delicious kebabs. These accessories'll help you maximize your air fryer's potential!
Can I Reheat Leftovers in the Air Fryer?
Yes, you can reheat leftovers in your air fryer. It's quick and keeps your food crispy. Just set the temperature to around 350°F and heat for a few minutes, checking occasionally to avoid overcooking.
How Do I Adjust Cooking Times for Frozen Foods?
To adjust cooking times for frozen foods, you'll typically need to increase the time by about 20-30%. Check the food halfway through cooking; if it's not done, add a few more minutes as needed.

