As an affiliate, we may earn a commission from qualifying purchases. We get commissions for purchases made through links on this website from Amazon and other third parties.
Like a well-timed symphony, the right cooking times can turn your air fryer into a maestro of flavors. You might think you know how to cook your favorite dishes, but mastering precise timings is the key to achieving that perfect crisp and tenderness. From crispy chicken wings to delightful apple chips, each recipe has its unique rhythm. Are you ready to discover the essential cooking times that will elevate your air frying game? Let's explore the details that could transform your meals into culinary masterpieces.
Key Takeaways
- Air fry French fries at 380°F for 15-20 minutes for a crispy texture.
- Cook crispy chicken wings at 400°F for 25-30 minutes to achieve crispy skin.
- For roasted vegetables, air fry at 400°F for 15-20 minutes for optimal caramelization.
- Salmon fillets should be cooked at 400°F for 10-12 minutes, reaching an internal temperature of 145°F.
- Baked potatoes need 35-40 minutes at 400°F, flipping halfway for even cooking.
Air Fryer French Fries
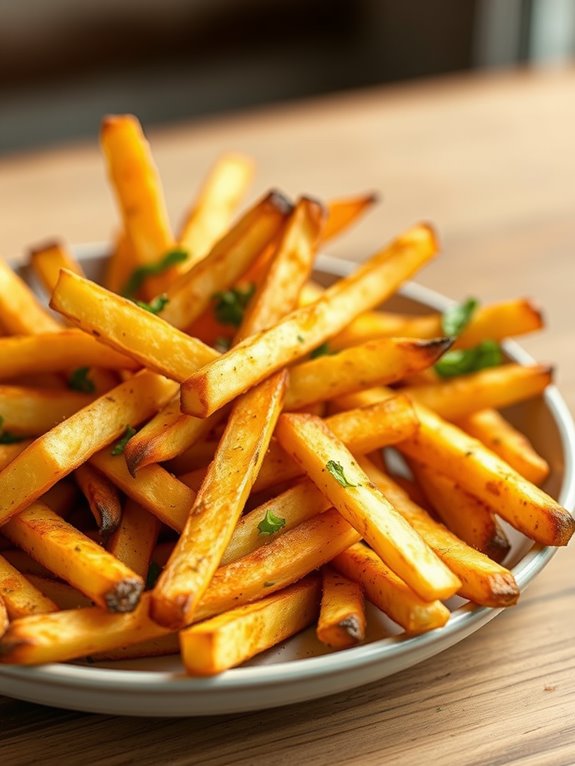
Air fryer French fries are a delicious and healthier alternative to traditional deep-fried fries. With the air fryer, you can achieve that perfect crispy texture without the excess oil, making it a fantastic option for those looking to enjoy a classic comfort food while keeping it lighter.
Whether you're serving them as a side dish, snack, or topping for your favorite meal, these fries are sure to impress. Regular use of the air fryer not only enhances meal preparation but also encourages healthier eating habits.
Making French fries in the air fryer is simple, quick, and requires minimal preparation. The air fryer circulates hot air around the potatoes, allowing them to cook evenly and develop a golden-brown exterior. You can customize the seasoning to your liking, making these fries a versatile addition to any meal.
Ingredients:
- 2 large russet potatoes
- 1 tablespoon olive oil
- 1 teaspoon salt
- 1/2 teaspoon pepper
- Optional seasonings (paprika, garlic powder, onion powder, or any preferred spices)
Cooking Instructions:
1. Start by washing and peeling the russet potatoes. Cut them into thin strips, about 1/4 inch thick, to guarantee even cooking. Rinse the cut fries in cold water to remove excess starch, which helps achieve a crispier texture.
Pat them dry with a clean kitchen towel or paper towels.
2. In a large bowl, toss the potato strips with olive oil, salt, pepper, and any optional seasonings you desire until they're evenly coated. Preheat your air fryer to 380°F (193°C) for about 3-5 minutes.
3. Place the seasoned fries in the air fryer basket in a single layer, ensuring they aren't overcrowded. You may need to work in batches depending on the size of your air fryer. Cook for 15-20 minutes, shaking the basket halfway through to promote even cooking.
Once they're golden and crispy, remove them from the fryer and let them cool slightly before serving.
Extra Tips:
For the best results, consider soaking the cut fries in cold water for 30 minutes prior to cooking to remove even more starch, which will help improve their crispiness.
Additionally, feel free to experiment with different seasonings or even try adding grated cheese or herbs after cooking for an extra burst of flavor.
Always keep an eye on the fries as cooking times may vary depending on the thickness of the cuts and the specific air fryer model used. Enjoy your delicious homemade air fryer French fries!
Crispy Chicken Wings
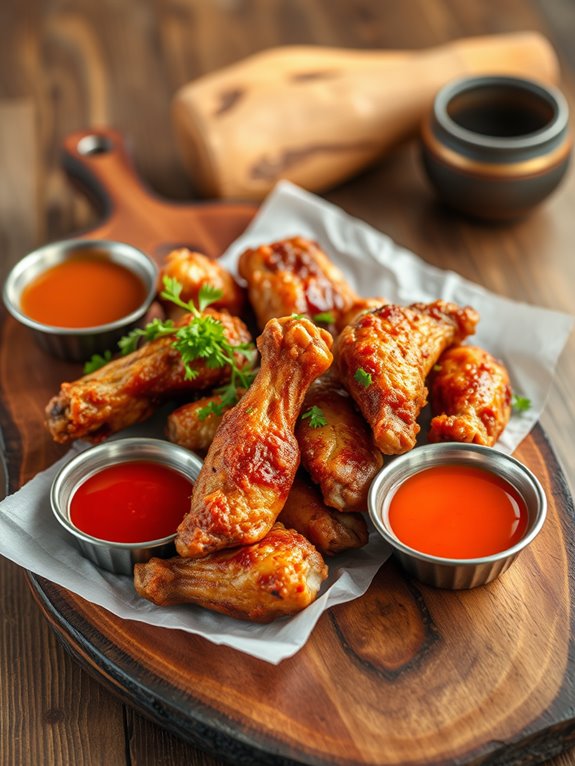
Crispy chicken wings are a favorite for many, whether for game day, a family dinner, or just a snack. Cooking them in an air fryer not only gives you that delicious crispy texture, but it also means less oil and fewer calories compared to traditional frying methods.
With the right seasonings and cooking technique, you can achieve perfectly cooked wings that are juicy on the inside and crispy on the outside. The beauty of air fryer chicken wings is their versatility. You can easily customize them with your favorite sauces or dry rubs, whether you prefer classic buffalo, sweet barbecue, or even a tangy lemon pepper.
The air fryer circulates hot air around the wings, guaranteeing even cooking and browning. Follow this simple recipe to impress your friends and family with your air-fried chicken wing skills. Additionally, air fryers reduce calorie intake significantly compared to deep frying, making this a healthier choice for fried foods.
Ingredients:
- 2 pounds of chicken wings
- 1 tablespoon of baking powder
- 1 teaspoon of salt
- 1 teaspoon of black pepper
- 1 teaspoon of garlic powder
- 1 teaspoon of onion powder
- Optional: your favorite wing sauce (buffalo, barbecue, etc.)
Cooking Instructions:
- Start by preheating your air fryer to 400°F (200°C). While it's heating up, rinse the chicken wings under cold water and pat them dry with paper towels. This step is essential for achieving that crispy texture.
- In a large mixing bowl, combine the baking powder, salt, black pepper, garlic powder, and onion powder. Toss the dried wings in the seasoning mixture until they're evenly coated. This will help to crisp up the skin during cooking.
- Arrange the wings in a single layer in the air fryer basket, making sure they aren't overcrowded. Cook the wings for about 25-30 minutes, flipping them halfway through for even cooking. If you like them extra crispy, you can cook for an additional 5 minutes.
For the perfect finish, toss the cooked wings in your favorite sauce or serve them plain with dipping sauces on the side.
Extra Tips:
To guarantee that your chicken wings come out crispy every time, make sure they're as dry as possible before seasoning.
If you have time, you can also let them sit uncovered in the refrigerator for a few hours to further dry out the skin.
Experiment with different spice blends or marinades to find your perfect flavor combination, and don't hesitate to adjust cooking times based on your air fryer model for best results.
Enjoy your crispy chicken wings!
Roasted Vegetables
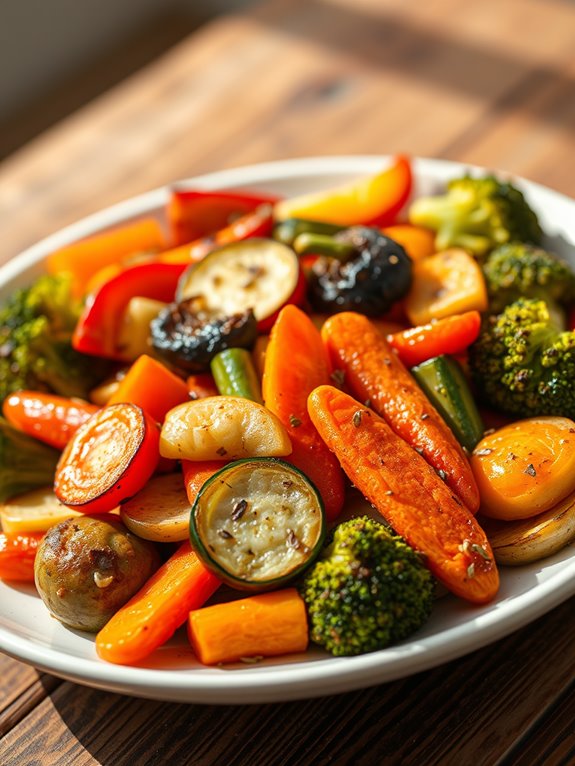
Roasting vegetables in an air fryer is a fantastic way to attain perfectly tender and crispy results without using excessive oil. This cooking method retains the vegetables' natural flavors while enhancing their sweetness through caramelization.
With an air fryer, you can have delicious roasted vegetables ready in a fraction of the time it would take using a conventional oven.
The versatility of vegetables allows you to mix and match according to your preference or what you have on hand. From sweet potatoes to Brussels sprouts, the air fryer can handle a variety of vegetables, delivering a delicious side dish that pairs well with any meal.
Plus, the cleanup is a breeze! Using air fryer liners can simplify the cleanup process even further, allowing you to enjoy your meal without the hassle of scrubbing the basket.
Ingredients:
- 2 cups of mixed vegetables (e.g., bell peppers, zucchini, carrots, broccoli)
- 1 tablespoon olive oil
- 1 teaspoon garlic powder
- 1 teaspoon onion powder
- 1 teaspoon dried Italian herbs (or your choice of herbs)
- Salt and pepper to taste
Cooking Instructions:
- Preheat your air fryer to 400°F (200°C). While it's heating, wash and chop your vegetables into even-sized pieces to guarantee they cook uniformly.
- In a large bowl, combine the chopped vegetables with olive oil, garlic powder, onion powder, dried herbs, salt, and pepper. Toss everything together until the vegetables are evenly coated.
- Once preheated, place the seasoned vegetables in the air fryer basket in a single layer. If necessary, cook in batches to avoid overcrowding, which can lead to uneven cooking.
- Air fry for about 15-20 minutes, shaking the basket halfway through to promote even cooking. The vegetables should be tender and slightly crispy when done.
Extra Tips:
To attain the best results, cut vegetables into uniform pieces and don't overcrowd the air fryer basket. This allows for better air circulation and even cooking.
You can also experiment with different seasonings or add a splash of lemon juice or balsamic vinegar after cooking for a flavorful finish.
Enjoy your perfectly roasted vegetables as a healthy side dish or even as a main course with a grain or protein!
Air Fryer Salmon
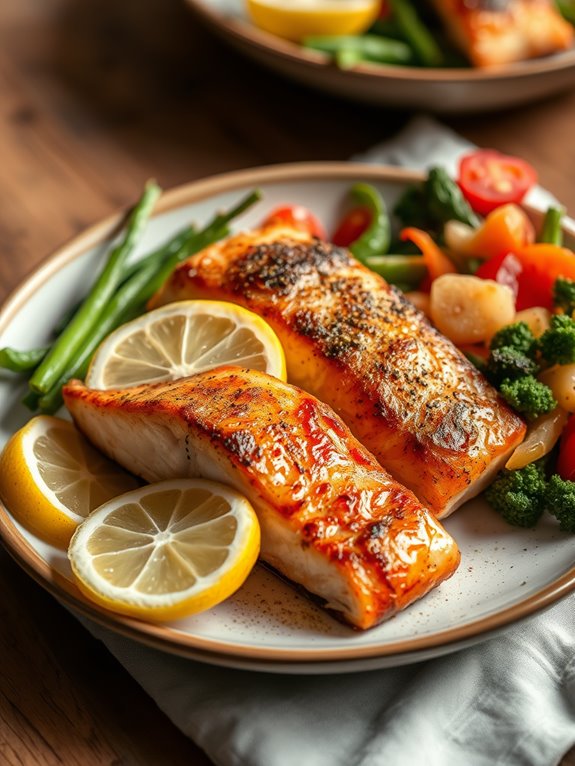
Cooking salmon in an air fryer is a game-changer that results in a delicious, perfectly cooked fish with a crispy exterior and tender, flaky interior. The air fryer circulates hot air around the salmon, guaranteeing even cooking while markedly reducing the amount of oil needed compared to traditional frying methods. Plus, the cleanup is a breeze, making this an ideal option for busy weeknights or quick meals. This appliance is often favored for its versatility and impressive cooking features, allowing you to prepare a variety of dishes effortlessly.
This air fryer salmon recipe is simple yet flavorful, allowing the natural taste of the fish to shine through. With just a few ingredients, you can create a nutritious dish that pairs well with a variety of sides, such as steamed vegetables, rice, or a fresh salad. Let's explore the ingredients and cooking instructions to enjoy a delightful salmon dinner.
Ingredients:
- 2 salmon fillets
- 1 tablespoon olive oil
- 1 teaspoon garlic powder
- 1 teaspoon paprika
- Salt and pepper to taste
- Lemon wedges for serving (optional)
Cooking Instructions:
Start by preheating your air fryer to 400°F (200°C) for about 5 minutes.
While it's heating up, pat the salmon fillets dry with a paper towel to remove excess moisture. In a small bowl, mix the olive oil, garlic powder, paprika, salt, and pepper. Brush this mixture evenly over both sides of the salmon fillets.
Once the air fryer is ready, place the fillets in the basket, skin side down if they've skin, and cook for 8-10 minutes, depending on the thickness of the fillets. The salmon should reach an internal temperature of 145°F (63°C) and flake easily with a fork.
Remove the salmon from the air fryer and serve it immediately with lemon wedges on the side for an extra burst of flavor. Enjoy your meal with your favorite sides for a complete dinner!
Extra Tips:
For an added flavor boost, consider marinating the salmon for 30 minutes before cooking. Simple marinades with ingredients like soy sauce, honey, and ginger work wonderfully.
Also, if you prefer a slightly crispy top, you can sprinkle some panko breadcrumbs on the salmon before air frying for a delightful crunch.
Always remember to check the internal temperature with a meat thermometer to guarantee perfect doneness without overcooking.
Homemade Mozzarella Sticks
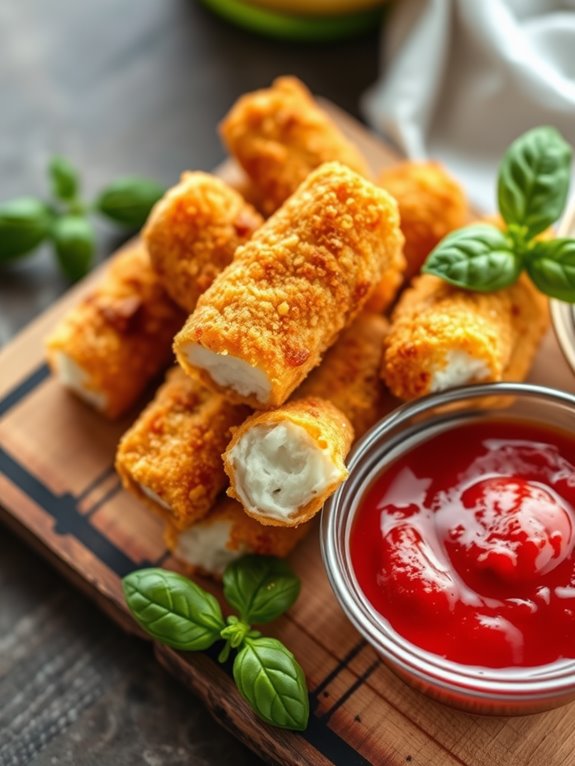
Homemade mozzarella sticks are a delicious and fun snack that you can easily prepare in an air fryer. With their crispy exterior and gooey cheese center, these mozzarella sticks are perfect for parties, movie nights, or just a satisfying treat.
Using an air fryer not only reduces the amount of oil you need but also guarantees that your mozzarella sticks come out perfectly crispy every time. Additionally, using air fryer liners can help simplify cleanup and maintain your air fryer's condition.
This recipe is simple and can be customized to suit your flavor preferences. Whether you want to add garlic powder for an extra kick or serve them with marinara sauce for dipping, these mozzarella sticks are sure to please. Plus, they're a great way to impress your family and friends with your cooking skills!
Ingredients:
- 12 mozzarella cheese sticks
- 1 cup all-purpose flour
- 2 large eggs
- 1 cup breadcrumbs (preferably Italian-style)
- 1 teaspoon garlic powder (optional)
- 1 teaspoon Italian seasoning (optional)
- Cooking spray
- Marinara sauce (for dipping)
Instructions:
- Begin by setting up a breading station: place the flour in one bowl, whisk the eggs in a second bowl, and mix the breadcrumbs with garlic powder and Italian seasoning in a third bowl.
- Take each mozzarella stick and first coat it in flour, shaking off any excess. Then dip it into the beaten eggs, and finally roll it in the breadcrumb mixture until fully coated. Repeat this process for all cheese sticks.
- Once all the mozzarella sticks are breaded, place them in the freezer for about 30 minutes. This helps them maintain their shape while cooking.
- Preheat the air fryer to 390°F (200°C). Lightly spray the air fryer basket with cooking spray. Arrange the mozzarella sticks in a single layer in the basket, leaving space between each stick to allow for even cooking.
- Air fry the mozzarella sticks for 6-8 minutes, flipping them halfway through until they're golden brown and crispy.
For the best results, be sure to freeze the mozzarella sticks before air frying to prevent them from melting too quickly. You can also experiment with different types of cheese or seasonings in the breadcrumb mixture for varied flavors.
When serving, pair the mozzarella sticks with marinara sauce for dipping, and enjoy your delicious homemade snack!
Perfectly Cooked Steak
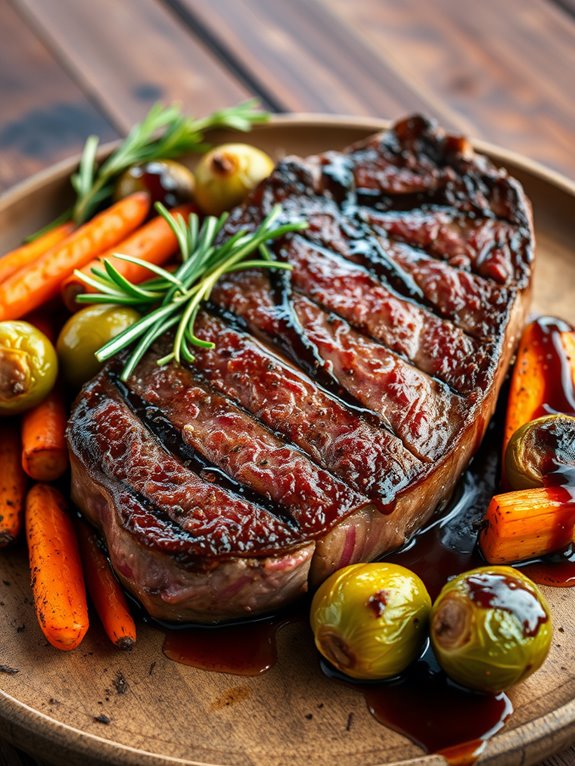
Cooking a perfectly cooked steak in an air fryer isn't only quick and convenient, but it also yields deliciously juicy results. The air fryer circulates hot air around the steak, creating a beautifully seared crust while keeping the inside tender and flavorful.
Whether you prefer a rare, medium, or well-done steak, the air fryer can help you achieve your desired level of doneness with minimal effort.
Before you begin, it's important to choose the right cut of steak. Popular options include ribeye, sirloin, and filet mignon, each offering unique flavors and textures.
Seasoning your steak is also essential; a simple rub of salt, pepper, and garlic powder can elevate the taste notably. Let's explore this straightforward recipe for a perfectly cooked steak using your air fryer!
Ingredients:
- 2 ribeye steaks (1-inch thick)
- 1 tablespoon olive oil
- 1 teaspoon salt
- 1 teaspoon black pepper
- 1 teaspoon garlic powder
- Optional: fresh herbs for garnish (e.g., rosemary or thyme)
Cooking Instructions:
- Preheat your air fryer to 400°F (200°C) for about 5 minutes. While it's heating, pat the steaks dry with paper towels to remove excess moisture. This step is essential for achieving a good sear.
- Rub each steak with olive oil, then season generously with salt, black pepper, and garlic powder on both sides. Let the steaks sit at room temperature for about 10-15 minutes to allow the flavors to meld.
- Once preheated, place the steaks in the air fryer basket in a single layer. Cook for 10-12 minutes for medium-rare, flipping halfway through. Adjust the cooking time based on your preferred doneness: 8-10 minutes for rare, 12-14 minutes for medium, and 14-16 minutes for well done.
- After cooking, remove the steaks from the air fryer and let them rest for 5 minutes before slicing. This resting period allows the juices to redistribute, ensuring a tender and juicy steak.
Extra Tips:
To enhance the flavor, consider marinating the steak for a few hours prior to cooking or using a meat thermometer to check for doneness. Additionally, using air fryer liners can simplify cleanup and preserve the quality of your air fryer.
For a perfect medium-rare, aim for an internal temperature of 130-135°F (54-57°C). Additionally, you can experiment with different seasonings or rubs to suit your taste preferences.
Air Fried Shrimp
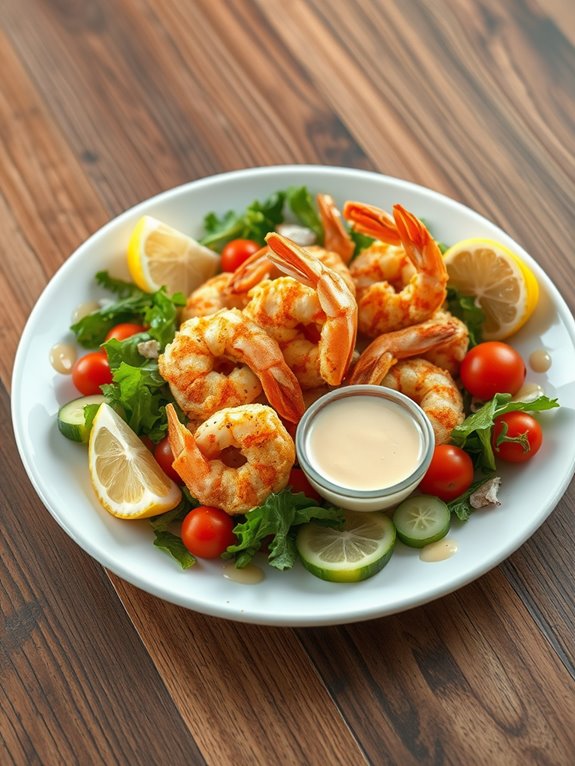
Air fried shrimp is a delectable and healthy alternative to traditional fried shrimp, delivering a satisfying crunch without the excess oil. The air fryer uses rapid air circulation to create a crispy exterior while keeping the shrimp tender and juicy on the inside.
This cooking method not only enhances the flavor but also greatly reduces cooking time, making it a perfect option for a quick weeknight dinner or a delightful appetizer for gatherings.
This recipe for air fried shrimp is simple yet packed with flavor, making it suitable for both novice and experienced cooks. With just a few ingredients and minimal prep, you can enjoy perfectly cooked shrimp in no time. Pair it with your favorite dipping sauce or serve it over a fresh salad for a light and fulfilling meal. Additionally, it's important to consider the compatibility of your air fryer with air fryer liners to enhance your cooking experience.
Ingredients:
- 1 pound large shrimp, peeled and deveined
- 1 cup breadcrumbs (panko for extra crunch)
- 1 teaspoon garlic powder
- 1 teaspoon paprika
- 1 teaspoon salt
- ½ teaspoon black pepper
- 1 egg, beaten
- Cooking spray or olive oil
Cooking Instructions:
Start by preheating your air fryer to 400°F (200°C). In a mixing bowl, combine the breadcrumbs, garlic powder, paprika, salt, and black pepper.
In another bowl, beat the egg. Dip each shrimp into the egg, allowing any excess to drip off, then coat it evenly with the breadcrumb mixture. Place the coated shrimp in a single layer in the air fryer basket. Lightly spray the shrimp with cooking spray or drizzle with olive oil for extra crispiness.
Cook the shrimp in the air fryer for about 6-8 minutes, flipping halfway through, until they're golden brown and cooked through. The shrimp should reach an internal temperature of 120°F (49°C) and have a nice crunchy texture.
Once done, remove them from the air fryer and serve immediately with your choice of dipping sauce.
Extra Tips:
For the best results, verify that the shrimp aren't overcrowded in the air fryer basket; this allows for even cooking and maximum crispiness.
You can experiment with different seasonings or add grated Parmesan cheese to the breadcrumb mixture for additional flavor. If you prefer a spicy kick, consider adding cayenne pepper or a dash of hot sauce to the egg mixture. Enjoy your air fried shrimp with a squeeze of lemon for a revitalizing finish!
Baked Potatoes
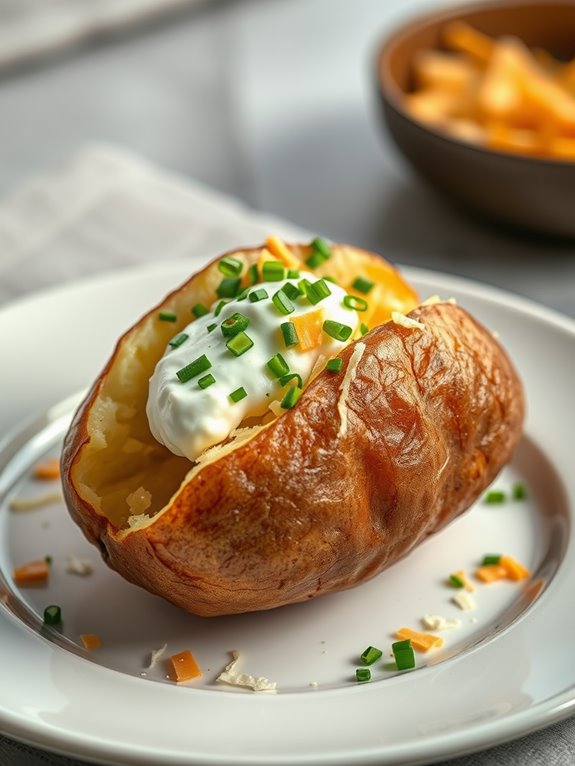
Baked potatoes are a simple yet satisfying dish that can be easily prepared in an air fryer. The air fryer not only cooks the potatoes faster than traditional methods, but it also gives them a crispy skin while keeping the inside fluffy and tender. This method is perfect for those who want a delicious side dish or a hearty base for toppings such as sour cream, cheese, and chives.
To make perfect baked potatoes in an air fryer, you'll want to choose medium to large russet potatoes for the best results. The skin of russet potatoes crisps up nicely, providing that classic baked potato experience. With minimal prep and cooking time, you'll have a delicious baked potato ready to enjoy in no time. The air fryer's Rapid Air Technology ensures even heat distribution for optimal cooking results.
Ingredients:
- 2 large russet potatoes
- Olive oil
- Salt
- Pepper
- Optional toppings (butter, sour cream, cheese, chives)
Cooking Instructions:
Start by washing the russet potatoes thoroughly under running water to remove any dirt. Pat them dry with a paper towel.
Next, pierce each potato several times with a fork to allow steam to escape during cooking. Rub a light coating of olive oil over the skin and season with salt and pepper.
Preheat your air fryer to 400°F (200°C) for about 5 minutes. Once preheated, place the potatoes in the air fryer basket, making certain they aren't overcrowded.
Cook the potatoes for 35-40 minutes, flipping them halfway through to guarantee even cooking. The potatoes are done when they're tender when pierced with a fork and the skin is crispy.
Remove the potatoes from the air fryer and let them rest for a few minutes before serving. Cut them open and add your favorite toppings.
Extra Tips:
For an even crispier skin, consider adding a bit of garlic powder or paprika to the oil before rubbing it on the potatoes.
Additionally, if you're cooking multiple potatoes, make sure they're similar in size for even cooking and adjust the cooking time as needed.
Enjoy experimenting with different toppings to find your perfect baked potato combination!
Air Fryer Pizza

Making pizza in an air fryer is a game-changer for busy weeknights or a quick snack. The air fryer provides a perfectly crispy crust while keeping the toppings deliciously melted and flavorful.
Whether you're using store-bought dough or making your own, the air fryer will give you a pizza that rivals your favorite pizzeria, all in less time and with less hassle. The use of silicone air fryer liners can enhance your cooking experience by preventing sticking and simplifying cleanup.
You can customize your air fryer pizza with your favorite toppings, making it a versatile choice for any occasion. From classic pepperoni to a veggie-packed delight, the options are endless.
This recipe will guide you through creating a delightful pizza that's ready in no time, perfect for sharing with family or enjoying during a movie night.
Ingredients:
- 1 pre-made pizza dough (or homemade)
- ½ cup pizza sauce
- 1 cup shredded mozzarella cheese
- ½ cup pepperoni slices (or other toppings of choice)
- 1 teaspoon Italian seasoning (optional)
- Olive oil spray (for greasing)
Instructions:
- Preheat your air fryer to 400°F (200°C). If your air fryer requires preheating, make sure to do this step for best cooking.
- Roll out the pizza dough to fit the air fryer basket, usually around 8 to 10 inches in diameter. Lightly spray the basket with olive oil to prevent sticking.
- Place the rolled-out dough in the air fryer basket. Spread the pizza sauce evenly over the dough, leaving a small border around the edge for the crust.
- Sprinkle the shredded mozzarella cheese over the sauce, followed by your desired toppings such as pepperoni and Italian seasoning.
- Air fry the pizza at 400°F (200°C) for about 8-10 minutes, or until the crust is golden brown and the cheese is bubbly and melted. Keep an eye on it to prevent burning.
For the best results, allow your pizza to cool for a minute or two before slicing, as this will help the cheese set a bit.
If you're experimenting with different toppings, keep in mind that some may require additional cooking time, so adjust accordingly.
Additionally, consider using parchment paper for easy cleanup and to prevent any drips from the toppings. Enjoy your homemade air fryer pizza with your favorite dipping sauces!
Delicious Apple Chips
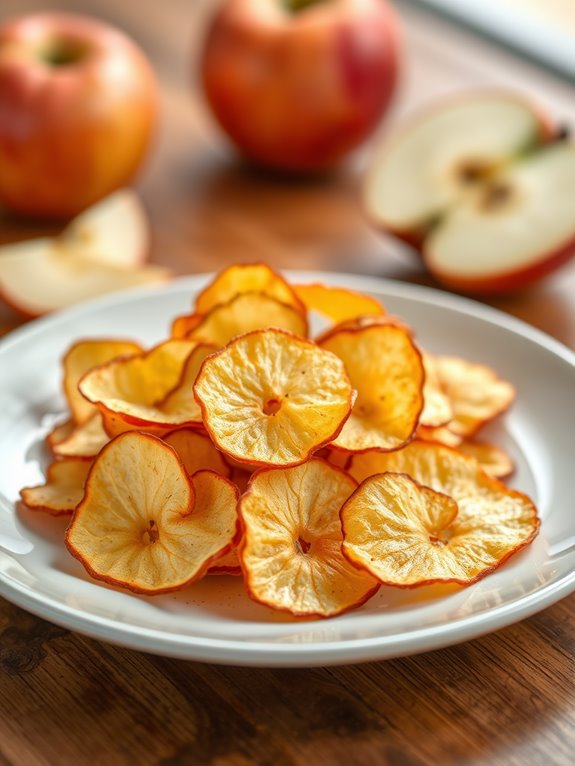
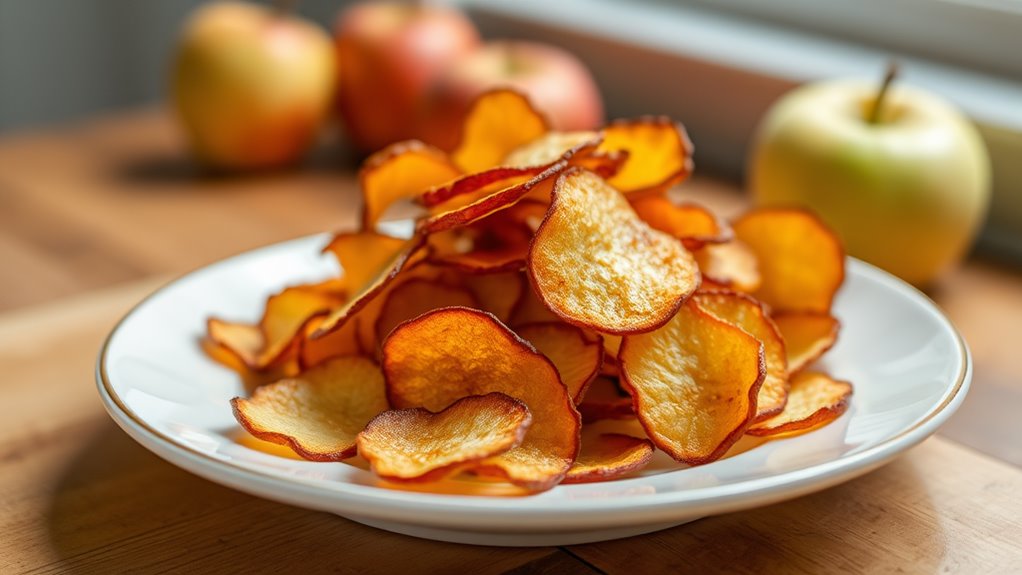
Apple chips are a delightful and healthy snack that can easily be made at home using an air fryer. These crispy treats are perfect for satisfying your sweet tooth without the extra calories found in traditional snacks. The air fryer circulates hot air around the apple slices, creating a crispy texture while keeping the natural sweetness intact. Plus, making them at home allows you to control the ingredients and sweetness level to your preference. Air frying also offers healthier alternatives to traditional frying methods.
To make delicious apple chips, you can use any variety of apples, but Fuji, Honeycrisp, or Granny Smith work particularly well due to their natural sweetness and crunch. The process is simple and quick, making it a great option for a healthy snack or a fun recipe to do with kids. Let's plunge into the ingredients and cooking method for these tasty apple chips!
Ingredients:
- 2 medium-sized apples (your choice of variety)
- 1 teaspoon cinnamon (optional)
- 1 tablespoon sugar (optional, can be adjusted to taste)
- Lemon juice (to prevent browning)
Cooking Instructions:
- Begin by preheating your air fryer to 160°F (70°C). While it's heating, wash and dry the apples thoroughly. Using a sharp knife or a mandoline slicer, slice the apples into thin rounds, about 1/8 inch thick. You can choose to remove the cores or leave them in for added texture.
- To prevent browning, lightly coat the apple slices with lemon juice. If desired, sprinkle cinnamon and sugar over the slices for added flavor. Toss to guarantee even coating. Place the apple slices in a single layer in the air fryer basket, making sure they don't overlap for peak crispiness.
- Cook the apple slices in the air fryer for about 15-20 minutes, flipping them halfway through the cooking time. Keep an eye on them towards the end, as cooking times may vary based on the thickness of the slices and the type of air fryer used. Remove them when they turn golden and crispy.
Extra Tips:
For the best results, choose firm apples that aren't overly ripe, as they'll yield crispier chips. Experiment with different spices, such as nutmeg or ginger, to create unique flavors. If you prefer a sweeter chip, adjust the sugar to your liking or try using flavored sugar.
Once cooked, allow the apple chips to cool completely, as they'll continue to crisp up as they cool. Store any leftovers in an airtight container to maintain their crunch. Enjoy your healthy snack!
Frequently Asked Questions
Can I Use Frozen Ingredients in an Air Fryer?
Yes, you can use frozen ingredients in your air fryer! They cook evenly and quickly, making meal prep easier. Just adjust the cooking times slightly, and you'll enjoy perfectly crispy results in no time.
How Do I Clean My Air Fryer Properly?
Cleaning your air fryer's a breeze! Just unplug it, let it cool, then remove the basket and tray. Wash them in warm soapy water, wipe the interior with a damp cloth, and you're set!
What Oil Is Best for Air Frying?
When air frying, use oils with high smoke points like avocado, canola, or peanut oil. They're great for achieving crispy results without burning. Just avoid oils with low smoke points, like olive oil, for best outcomes.
Can I Stack Food in the Air Fryer?
While stacking food might seem like a space-saver, it can lead to uneven cooking. Instead, arrange items in a single layer for ideal crispiness and flavor. Remember, less is often more in air frying!
How Do I Prevent Food From Sticking to the Basket?
To prevent food from sticking to the basket, you can lightly spray it with cooking oil or use parchment paper. Make sure to space out the food for even cooking and better airflow.

