
As an affiliate, we may earn a commission from qualifying purchases. We get commissions for purchases made through links on this website from Amazon and other third parties.
If you've ever wanted to elevate your cooking with a rich, nutty flavor, homemade ghee might be just what you need. It's versatile, easy to make, and can enhance a variety of dishes. Using your Instant Pot simplifies the process, making it accessible even for beginners. From classic ghee to infused variations, there are plenty of recipes to explore. Let's uncover the secrets to creating your own delicious ghee at home.
Key Takeaways
- Start with 1 pound of high-quality unsalted butter for the best flavor in ghee recipes.
- Melt butter using the "Sauté" function in the Instant Pot for even cooking.
- Simmer on "Slow Cook" for 2-3 hours until a clear golden liquid forms.
- Infuse ghee with herbs, spices, or garlic for unique flavor variations.
- Store ghee in airtight containers at room temperature for easy access in cooking.
What Is Ghee and Its Benefits
Ghee is a type of clarified butter that originates from Indian cuisine and is known for its rich, nutty flavor and high smoke point. It's made by simmering unsalted butter to separate the milk solids and water from the pure butterfat. This process not only enhances its flavor but also makes ghee lactose-free, making it suitable for those with dairy sensitivities.
Ghee is a staple in many recipes and offers numerous health benefits, including improved digestion, higher energy levels, and being a source of healthy fats. In addition to its culinary uses, ghee is often celebrated for its nutritional properties.
It's rich in fat-soluble vitamins such as A, D, E, and K, which are vital for overall health. Ghee also contains butyrate, a short-chain fatty acid that may support gut health and reduce inflammation. Incorporating ghee into your diet can promote a balanced lifestyle and enhance the flavors of your favorite dishes.
Ingredients:
– 1 pound unsalted butter
Instructions:
- Place the unsalted butter in your Instant Pot and set it to the "Sauté" function. Allow the butter to melt completely, stirring occasionally to prevent it from burning.
- Once the butter has melted, switch the Instant Pot to the "Keep Warm" setting. Allow the butter to simmer for about 30 to 40 minutes. You'll see the milk solids separating and sinking to the bottom while the clear golden liquid rises.
- Keep an eye on the butter during this process; it should bubble gently without boiling over. When the ghee is ready, it will have a nutty aroma, and the milk solids will be browned but not burnt.
Extra Tips:
When making ghee, it's important to use high-quality unsalted butter to achieve the best flavor. Store your homemade ghee in a clean, airtight container and keep it in a cool, dark place.
Ghee can last for several months at room temperature, making it a convenient staple in your kitchen. If you notice any impurities in your ghee, you can strain it through a cheesecloth or fine mesh sieve for a smoother consistency.
Essential Ingredients for Making Ghee
To make ghee using an Instant Pot, you need just a few simple ingredients, primarily unsalted butter. Ghee is a clarified butter that has been cooked longer to develop a rich, nutty flavor, making it a versatile ingredient in cooking and baking.
It's beloved in Indian cuisine and increasingly popular in various culinary traditions due to its high smoke point and health benefits.
The process of making ghee in an Instant Pot is straightforward and efficient. With minimal hands-on time, you can transform butter into flavorful ghee that enhances the taste of your dishes. By using the Instant Pot, you can avoid the hassle of monitoring the stovetop and achieve consistent results.
Ingredients:
– 1 pound unsalted butter
Cooking Instructions:
- Begin by adding the unsalted butter to the inner pot of your Instant Pot. Close the lid and set the vent to the sealing position.
- Select the "Sauté" function on your Instant Pot and allow the butter to melt completely. Once melted, switch to the "Keep Warm" setting.
- Allow the butter to cook for approximately 30-40 minutes. You'll notice the milk solids starting to separate and sink to the bottom while the butter turns a golden color and develops a nutty aroma.
- After the cooking time is up, carefully open the lid and let it cool for a few minutes. Then, strain the liquid through a fine mesh sieve or cheesecloth into a glass jar, discarding the milk solids that remain in the pot.
Extra Tips:
When making ghee, it's important to monitor the cooking process closely, especially towards the end, as the butter can quickly go from perfectly clarified to burnt.
If you prefer a deeper flavor, you can let it cook a bit longer, but be cautious not to overdo it. Store your ghee in an airtight container at room temperature for up to a month, or in the refrigerator for longer shelf life. Enjoy using it in cooking, baking, or as a spread!
Preparing the Instant Pot for Ghee

To get started, gather your ingredients and prepare your Instant Pot. This method allows you to monitor the cooking process with less risk, as the pressure cooker keeps the temperature consistent.
With just a few easy steps, you'll have homemade ghee ready to enhance your culinary creations.
Ingredients:
– 1 pound unsalted butter
Cooking Instructions:
- Start by cutting the unsalted butter into smaller cubes. This will help it melt evenly and quickly in the Instant Pot. Place the butter cubes in the pot.
- Close the lid and set the Instant Pot to the "Sauté" function on low. Allow the butter to melt completely. This may take about 10-15 minutes. Stir occasionally to guarantee even melting and to prevent any sticking to the bottom of the pot.
- Once the butter has melted, switch the setting to "Keep Warm." You'll notice the milk solids separating and sinking to the bottom while the clear, golden liquid rises to the top. This will take another 20-30 minutes. Keep an eye on it to avoid burning the solids.
Extra Tips:
Be sure to use high-quality unsalted butter for the best flavor and results.
It's important to let the ghee cool slightly before straining it into a jar; this will prevent spills and burns.
When stored properly in an airtight container in a cool, dark place, homemade ghee can last for several months without refrigeration.
Enjoy using your ghee in cooking, baking, or drizzling over vegetables for added richness!
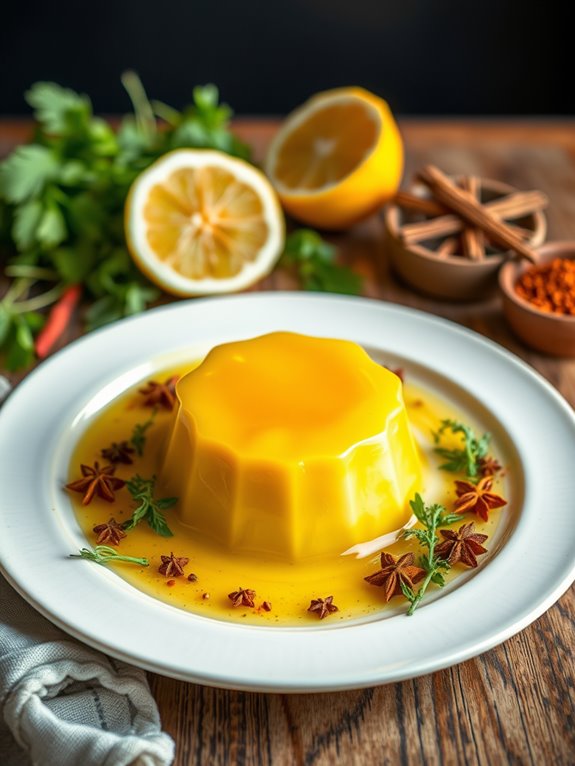
Classic Ghee Recipe

The process involves simmering unsalted butter until the water evaporates and the milk solids settle at the bottom, leaving behind pure, golden ghee. This classic recipe isn't only easy to follow but also provides you with a healthy fat option for cooking, baking, or drizzling over dishes.
Let's explore the ingredients and instructions for making this delightful ingredient in your Instant Pot.
Ingredients:
– 1 pound unsalted butter
Cooking Instructions:
- Begin by placing the unsalted butter in the Instant Pot and closing the lid. Set the Instant Pot to the "Sauté" function and adjust it to the "More" setting. Allow the butter to melt completely, stirring occasionally to guarantee even melting.
- Once the butter has melted, switch the setting to "Slow Cook" on the high setting. Cover the Instant Pot with the lid, slightly ajar to allow steam to escape. Let it cook for about 2 to 3 hours. You'll notice the butter foam, and then it will settle down as the milk solids start to separate and sink to the bottom. The ghee is ready when it turns a clear golden color and has a nutty aroma.
Extra Tips:
To achieve the best flavor, use high-quality unsalted butter, as the quality of the butter will directly affect the taste of the ghee.
Additionally, keep an eye on the cooking process towards the end to prevent it from overcooking. Once finished, allow the ghee to cool slightly before straining it through a cheesecloth or fine-mesh strainer into a clean, dry jar.
Store the ghee in a cool, dark place, and it can last for several months without refrigeration. Enjoy your homemade ghee in a variety of recipes or as a flavorful cooking fat!
Herb-Infused Ghee Variations
Making herb-infused ghee in the Instant Pot is a breeze and allows for a hands-off approach to achieving that luxurious flavor. You can experiment with different herbs to create your own signature blend. This recipe provides a foundational method, but feel free to adjust the herbs to suit your taste preferences!
Ingredients:
- 1 cup unsalted ghee
- 2-3 sprigs of fresh rosemary
- 2-3 sprigs of fresh thyme
- 2-3 cloves of garlic, smashed
- 1 teaspoon black peppercorns (optional)
- 1-2 bay leaves (optional)
Cooking Instructions:
- Begin by pouring the ghee into the Instant Pot and setting it to the "Sauté" function. Allow the ghee to melt completely without letting it boil. This should take about 5 minutes.
- Once melted, add the fresh rosemary, thyme, smashed garlic, and any optional ingredients like black peppercorns and bay leaves. Stir gently to combine.
- Switch the Instant Pot to the "Keep Warm" setting and let the herbs infuse in the ghee for about 30 minutes. This low heat will allow the flavors to meld beautifully without burning the herbs.
- After 30 minutes, turn off the Instant Pot and let the ghee cool slightly. Strain the ghee through a fine mesh sieve or cheesecloth into a clean, dry glass jar to remove the herbs.
Extra Tips:
When infusing ghee with herbs, feel free to experiment with different combinations to find your favorite flavors.
For a more intense herbal infusion, you can increase the steeping time.
Always store your herb-infused ghee in the refrigerator, where it can last for several weeks, or in the freezer for longer storage. Enjoy using it in your cooking to add a burst of flavor!
Spiced Ghee Recipes

In this recipe, we'll create a simple spiced ghee using common spices like cumin and turmeric that not only elevate the taste but also provide health benefits.
This ghee can be stored for weeks and used in various dishes, from curries to roasted meats or even as a dip for bread. So let's plunge into this aromatic adventure!
Ingredients:
- 1 cup unsalted butter
- 1 teaspoon cumin seeds
- 1 teaspoon turmeric powder
- 1/2 teaspoon black peppercorns
- 1-2 dried red chilies (adjust to taste)
- 1-2 cloves of garlic, smashed (optional)
- Salt to taste (optional)
Cooking Instructions:
- Start by placing the unsalted butter in the Instant Pot and setting it to the 'Sauté' mode. Allow the butter to melt slowly, stirring occasionally.
- Once the butter has completely melted, add the cumin seeds, turmeric powder, black peppercorns, dried red chilies, and smashed garlic (if using) to the pot. Stir to combine and let the spices infuse into the butter for about 5-10 minutes, watching closely to avoid burning.
- After the spices have infused, switch the Instant Pot to 'Keep Warm' mode and let the mixture sit for another 10 minutes. This allows the flavors to meld further.
- Finally, strain the ghee through a fine sieve or cheesecloth into a clean, dry jar to remove the spices. Allow it to cool before sealing the jar. Your spiced ghee is now ready to use!
Extra Tips:
When making spiced ghee, feel free to experiment with different spices to suit your taste. Common additions include cinnamon sticks, cardamom pods, or even fresh herbs like thyme or rosemary.
Additionally, make sure that you store the ghee in a cool, dark place to prolong its shelf life. It can also be refrigerated, but remember to allow it to come to room temperature before using, as it will harden in the fridge.
Enjoy your spiced ghee in a variety of dishes!
Garlic Ghee for Flavor Enhancement

Garlic ghee is a delicious and aromatic twist on traditional ghee that can elevate your culinary creations. Making garlic ghee in the Instant Pot is a straightforward process that yields a rich flavor, perfect for drizzling over vegetables, mixing into pasta, or using as a base for sautéing. The infusion of garlic not only enhances the taste but also brings with it a host of health benefits, making it a versatile ingredient in your kitchen.
To create garlic ghee, you'll need to use high-quality unsalted butter and fresh garlic cloves. The Instant Pot simplifies the process, allowing you to achieve perfectly melted ghee while infusing it with the distinct flavor of garlic. This method also guarantees that the ghee is free of any moisture, which extends its shelf life, making it a great staple to have on hand.
Ingredients:
- 1 cup unsalted butter
- 4-6 cloves garlic, peeled and smashed
- Optional: fresh herbs (like thyme or rosemary) for added flavor
Instructions:
- Begin by adding the unsalted butter to the Instant Pot. Set it to the 'Sauté' function until the butter melts completely.
- Once the butter is melted, add the smashed garlic cloves. Stir gently to combine, and allow the mixture to simmer on the 'Sauté' setting for about 10 minutes. Keep an eye on it to prevent the garlic from burning; you want it to become golden and fragrant.
- After 10 minutes, turn off the Instant Pot and let the ghee sit for an additional 10-15 minutes. This resting period allows the flavors to meld together.
- Carefully strain the ghee through a fine-mesh strainer or cheesecloth into a clean jar, discarding the garlic solids. If desired, you can add fresh herbs at this point for extra flavor.
When making garlic ghee, it's crucial to monitor the garlic closely during the cooking process. If it becomes too dark, it can impart a bitter flavor to your ghee.
Additionally, always store your garlic ghee in an airtight container in the refrigerator to maintain freshness. This ghee can last for several weeks and can be used in a variety of dishes, making it a great addition to your cooking repertoire.
Coconut Ghee for a Tropical Twist

Coconut Ghee is a delightful fusion that brings the rich, nutty flavor of ghee together with the tropical essence of coconut. This easy Instant Pot recipe allows you to whip up a batch of Coconut Ghee in no time, perfect for drizzling over vegetables, stirring into rice, or using as a base for cooking your favorite dishes.
The combination of these two ingredients not only enhances the flavor but also provides a plethora of health benefits, including healthy fats and antioxidants.
Making Coconut Ghee in the Instant Pot is a breeze. The gentle pressure cooking method guarantees that the ghee is infused with the aromatic coconut flavor while preserving the nutrients. You'll enjoy the creamy texture and the satisfying aroma that fills your kitchen as it cooks.
With just a few simple ingredients and minimal hands-on time, you'll have a delicious and versatile cooking fat ready to elevate your meals.
Ingredients:
- 1 cup unsalted butter
- 1 cup coconut oil
- 1/4 cup shredded unsweetened coconut (optional)
- Pinch of salt (optional)
Instructions:
- In your Instant Pot, combine the unsalted butter and coconut oil. If you choose to add shredded coconut for an extra coconutty flavor, toss that in as well. Seal the lid and set the Instant Pot to the "Sauté" function on low. Allow the mixture to melt gently, stirring occasionally to guarantee even melting.
- Once the butter and coconut oil are fully melted and combined, switch the Instant Pot to "Manual" or "Pressure Cook" mode and set the timer for 20 minutes. After the cooking time is complete, allow the pressure to release naturally for about 10 minutes before carefully venting to release any remaining steam.
Once the pressure has released, open the lid and skim off any foam or solids that may have formed on the surface. Strain the ghee through a fine mesh strainer or cheesecloth into a clean jar, discarding any solids. Allow it to cool before sealing.
Extra Tips:
When making Coconut Ghee, use high-quality, organic ingredients for the best flavor and health benefits. You can customize this recipe by experimenting with different types of coconut oil and adjusting the amount of shredded coconut to suit your taste.
Store your Coconut Ghee in an airtight container in the refrigerator for up to a month, or leave it at room temperature for a spreadable consistency. Enjoy your homemade Coconut Ghee as a delicious and versatile addition to your culinary repertoire!
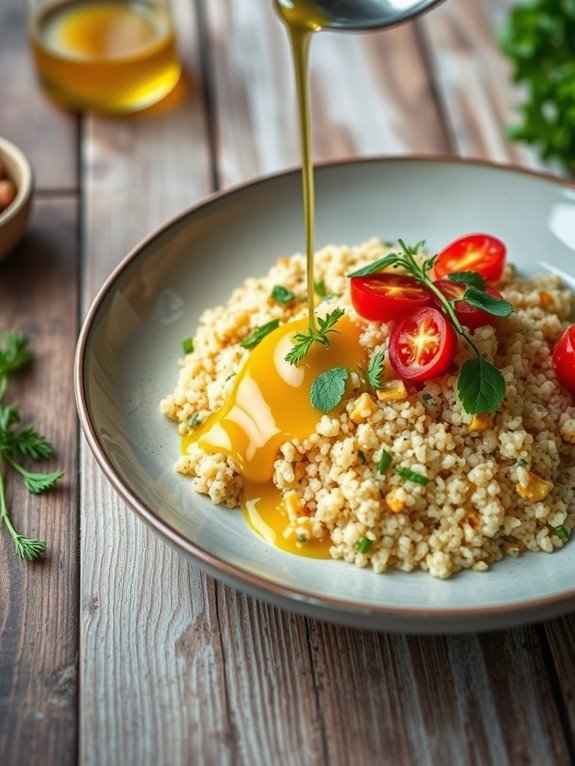
Sweet Ghee for Baking and Desserts

Using the Instant Pot not only simplifies the process but also guarantees that the ghee is cooked evenly and efficiently. The gentle pressure cooking helps meld the sweet notes into the ghee while retaining its beneficial properties.
Once you have your sweet ghee ready, the possibilities are endless, and your baking will be transformed with this luxurious ingredient.
Ingredients:
- 1 cup unsalted butter
- 1/4 cup brown sugar
- 1 teaspoon vanilla extract
- 1/2 teaspoon ground cinnamon (optional)
- Pinch of salt
Instructions:
- Begin by placing the unsalted butter into the Instant Pot and setting it to the "Sauté" mode. Allow the butter to melt completely, stirring occasionally to prevent burning. Once melted, switch the Instant Pot to the "Keep Warm" setting.
- Add the brown sugar, vanilla extract, ground cinnamon, and a pinch of salt to the melted butter. Stir well until the sugar is dissolved and the mixture is fully combined. Close the lid and set the Instant Pot to cook on the "Manual" setting for 10 minutes. Once the time is up, allow for a natural pressure release for about 5 minutes before manually releasing any remaining pressure.
- After the pressure has released, carefully open the lid. Strain the ghee through a fine mesh strainer or cheesecloth into a heatproof jar to remove any milk solids. Allow the sweet ghee to cool before sealing the jar.
Extra Tips:
When making sweet ghee, feel free to experiment with other flavorings like almond extract or citrus zest to customize the taste according to your preferences.
Store your sweet ghee in an airtight container in the refrigerator for up to two weeks or in the freezer for longer shelf life. Enjoy incorporating this sweet ghee into your favorite desserts and baked goods for a delectable twist!
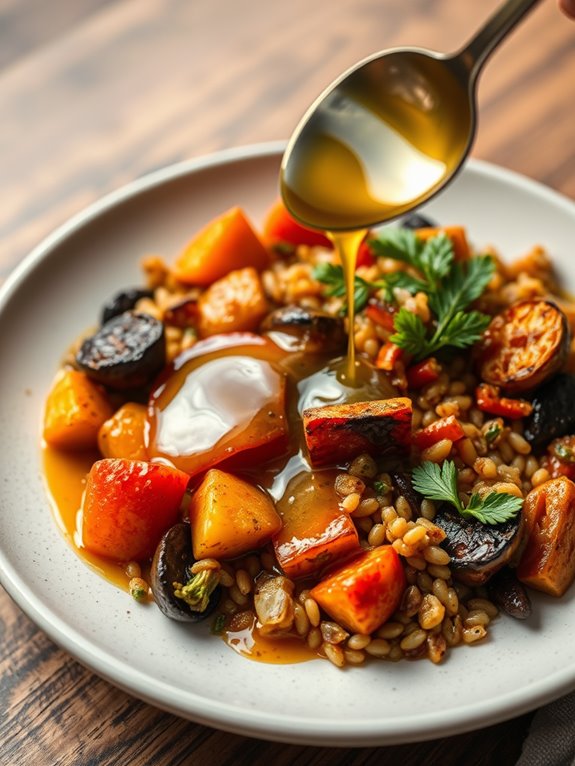
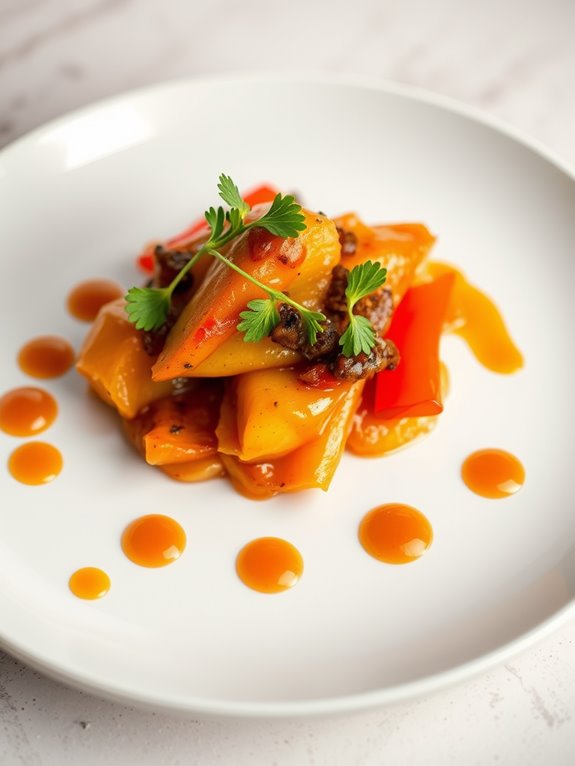
Ghee for Sautéing Vegetables
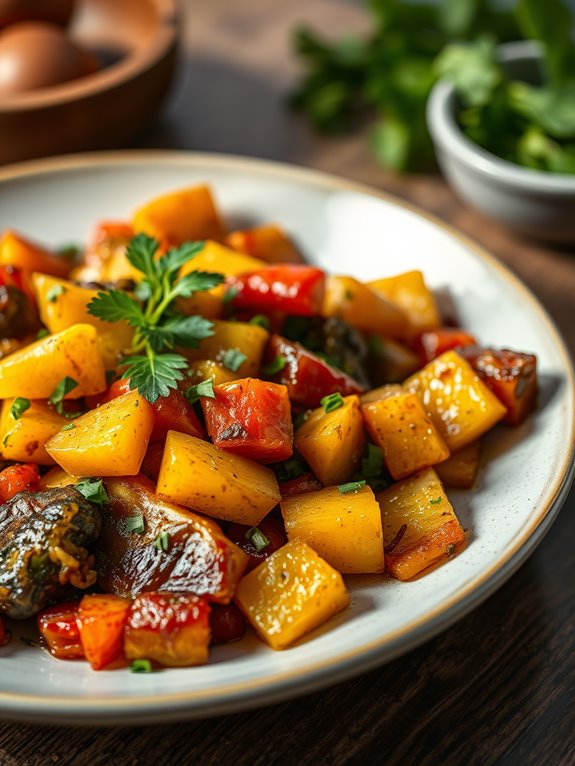
This method is quick and easy, making it a great choice for busy weeknight meals or as a side dish to complement any main course. You can use a variety of vegetables based on your preference or what's in season, such as bell peppers, zucchini, carrots, or broccoli. The result is a deliciously sautéed medley that can be enjoyed on its own or as part of a larger meal.
Ingredients:
- 2 tablespoons ghee
- 2 cups mixed vegetables (bell peppers, zucchini, carrots, broccoli)
- 2 cloves garlic, minced
- 1 teaspoon salt
- 1/2 teaspoon black pepper
- 1 teaspoon cumin (optional)
- Fresh herbs for garnish (parsley or cilantro)
Cooking Instructions:
- Begin by setting your Instant Pot to the "Sauté" mode and allow it to heat up for a few minutes. Once hot, add the ghee and let it melt, coating the bottom of the pot.
- Add the minced garlic to the pot and sauté for about 30 seconds until fragrant, being careful not to burn it. Next, add your mixed vegetables along with the salt, black pepper, and cumin if using. Stir well to guarantee the vegetables are evenly coated with ghee and spices.
- Continue to sauté the vegetables for about 5-7 minutes, stirring occasionally, until they're tender but still crisp. Once cooked to your desired doneness, turn off the Instant Pot, garnish with fresh herbs, and serve immediately.
Extra Tips:
When sautéing vegetables in ghee, be mindful of the cooking time for each type of vegetable, as some may cook faster than others.
Cut your vegetables into even pieces to guarantee uniform cooking. You can also experiment with different spices and herbs to customize the flavor profile according to your taste preferences.
Enjoy the delightful aroma and taste that ghee brings to your sautéed vegetables!
Ghee in Indian Cuisine

Making ghee at home is simple and requires minimal ingredients and equipment. The Instant Pot is an excellent tool for this process, as it allows for precise temperature control and reduces the risk of burning the milk solids. In this recipe, we'll guide you through the steps to create your own homemade ghee using an Instant Pot.
Ingredients:
– 1 pound unsalted butter (preferably grass-fed)
Cooking Instructions:
- Start by placing the unsalted butter into the Instant Pot. Set it to the "Sauté" function and allow the butter to melt completely. Stir occasionally to guarantee even melting.
- Once the butter has melted, switch the setting to "Slow Cook." Cover the Instant Pot with the lid slightly ajar to allow steam to escape. Let the butter cook on low for about 2-3 hours. You'll notice the milk solids begin to separate and settle at the bottom of the pot.
- After the cooking time has elapsed, the ghee should be a clear golden liquid on top. To strain, use a fine mesh strainer or cheesecloth placed over a heatproof bowl to filter out the milk solids. Allow the ghee to cool before transferring it to a glass jar for storage.
Extra Tips:
When making ghee, it's important to keep an eye on the cooking process to prevent burning. If you notice any browning of the milk solids, reduce the heat slightly.
Ghee can be stored at room temperature for several weeks or in the refrigerator for a longer shelf life. Feel free to experiment by adding spices like cumin or cardamom during the cooking process for a unique flavor twist!
Storing Homemade Ghee
The ideal containers for storing ghee are glass jars or airtight containers.
Make sure that the containers are clean and dry before pouring in the ghee. You can also keep ghee in the refrigerator if you prefer a longer shelf life, though it will solidify.
Remember to allow it to come back to room temperature before using it in your recipes.
Ingredients:
- Homemade ghee (the amount you've made)
- Clean, dry glass jars or airtight containers
Instructions:
- Once your ghee is finished cooking, let it cool slightly in the Instant Pot. Use a fine mesh strainer or cheesecloth to strain the ghee into your chosen storage containers. This will remove any milk solids or impurities, ensuring a clear and pure ghee.
- Pour the strained ghee into the jars, leaving a little space at the top to allow for expansion if you choose to refrigerate it. Seal the jars tightly.
Extra Tips:
Always use a clean and dry utensil when scooping ghee from its container to prevent contamination, which can lead to spoilage.
If you notice any off smells or discoloration, it's best to discard the ghee.
Tips for Perfect Ghee Every Time
Making ghee in your Instant Pot is a simple and rewarding process that can elevate your cooking. Ghee, a type of clarified butter, has a rich, nutty flavor and is a staple in many cuisines, especially in Indian cooking.
With the Instant Pot, you can achieve perfectly clarified butter without the constant supervision typically required on the stovetop. This method guarantees that your ghee will have a beautiful golden color and a delightful aroma while retaining all of its beneficial properties.
To get started, you'll need just a few ingredients and your Instant Pot. The process is straightforward, and the result is well worth the wait. Once you've mastered this technique, you can easily make ghee in larger batches and store it for future use. It's perfect for sautéing, baking, or simply drizzling over your favorite dishes.
Ingredients:
– 1 pound unsalted butter (preferably organic)
Cooking Instructions:
- Begin by placing the unsalted butter in the Instant Pot. Close the lid and set the valve to the sealing position. Select the "Pressure Cook" or "Manual" setting and set the timer for 20 minutes on high pressure. The butter will melt and bubble during this time.
- Once the cooking cycle is complete, allow the Instant Pot to naturally release pressure for about 10 minutes, then carefully switch the valve to venting to release any remaining pressure. Open the lid, and you'll see the melted butter has separated into three layers: the clarified butter on top, milk solids at the bottom, and some foam on the surface.
- Using a spoon or ladle, skim off the foam from the top. Next, carefully pour the clarified butter into a clean glass jar, leaving the milk solids at the bottom of the pot. You can strain the ghee through a cheesecloth or fine mesh strainer if you want a clearer product.
Extra Tips:
To achieve perfect ghee every time, make sure you use high-quality unsalted butter, as the flavor will be more pronounced.
Keep an eye on the color of the ghee while cooking; you want it to turn a beautiful golden hue and develop a nutty aroma without burning.
Store your ghee in an airtight container in a cool, dark place, and it can last for several months without refrigeration. Enjoy your homemade ghee in a variety of dishes or as a flavorful cooking fat!
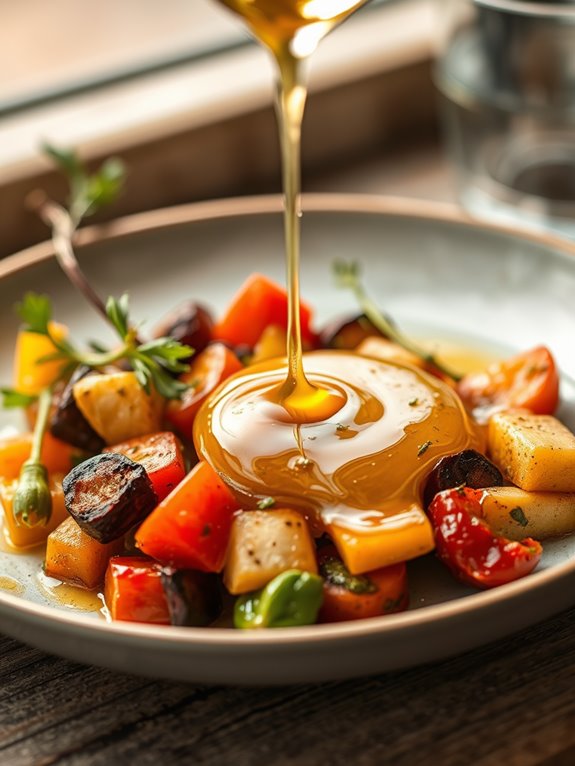
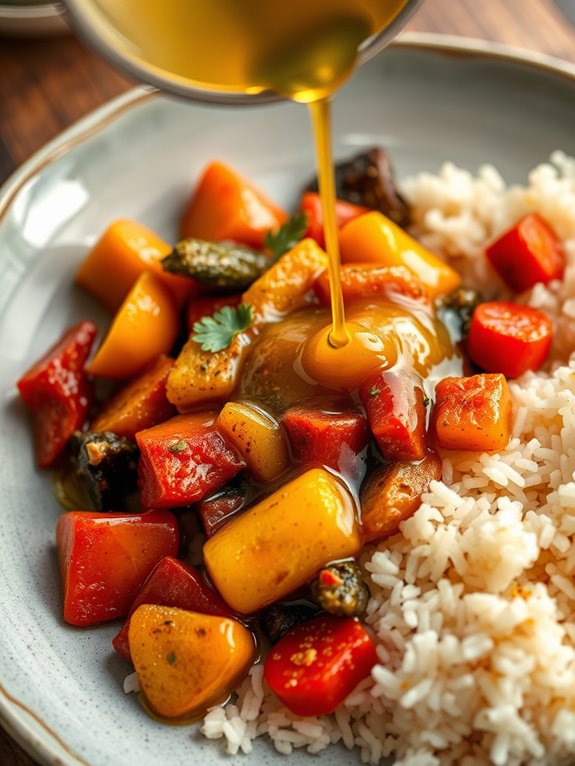
Creative Uses for Ghee in Everyday Cooking
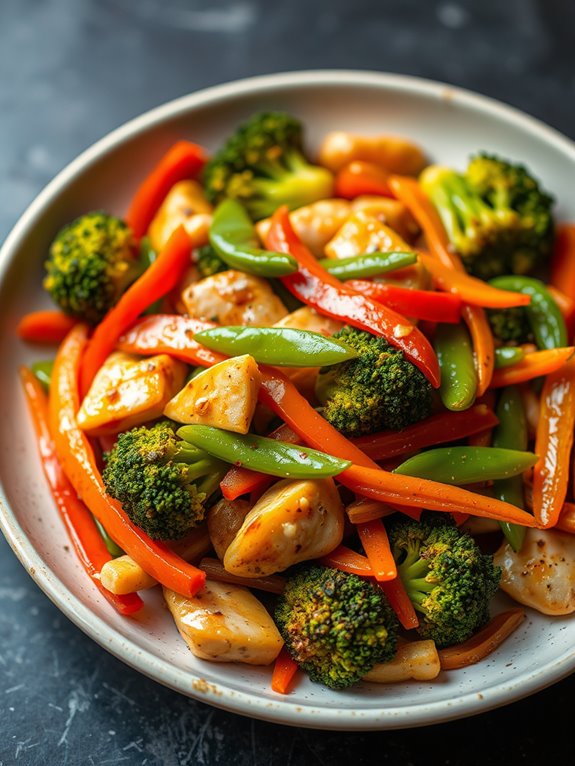
This quick and easy stir-fry not only showcases the aromatic qualities of ghee but also allows you to customize it with your favorite vegetables and proteins.
The result is a vibrant, satisfying dish that's perfect for a weeknight dinner or a meal prep option for the week ahead. Get ready to enjoy a burst of flavor with minimal effort!
Ingredients
- 2 tablespoons ghee
- 1 cup broccoli florets
- 1 cup bell peppers, sliced
- 1 cup snap peas
- 1 cup carrots, julienned
- 2 cloves garlic, minced
- 1 teaspoon fresh ginger, grated
- 2 tablespoons soy sauce or tamari (for gluten-free)
- 1 teaspoon sesame oil
- Optional: cooked protein (chicken, tofu, shrimp)
Cooking Instructions
In a large skillet or wok, heat the ghee over medium heat until melted.
Add the minced garlic and grated ginger, stirring for about 30 seconds until fragrant.
Next, toss in the broccoli, bell peppers, snap peas, and carrots. Stir-fry the vegetables for 5-7 minutes until they're tender-crisp.
If using any cooked protein, add it to the skillet at this point to heat through.
Once the vegetables are cooked to your liking, drizzle in the soy sauce and sesame oil, stirring well to combine.
Cook for an additional minute, allowing the flavors to meld before removing the skillet from heat.
Serve warm over rice or quinoa for a complete meal.
Extra Tips
When selecting vegetables for your stir-fry, choose a mix of colors and textures to make the dish visually appealing and nutritious.
Feel free to experiment with different seasonal vegetables or add spices like chili flakes for a bit of heat.
Ghee has a high smoke point, making it perfect for high-heat cooking, so don't be afraid to crank up the heat for a quick, delicious finish!
Troubleshooting Common Ghee Making Issues
Making ghee in an Instant Pot can be a rewarding endeavor, but sometimes things don't go as planned. From burnt milk solids to insufficient separation of butterfat, there are common issues that can arise during the ghee-making process. Understanding how to troubleshoot these problems can guarantee that you achieve that perfect, golden liquid every time.
This guide will help you address these concerns and provide you with a simple recipe to make ghee effortlessly.
Before diving into the cooking process, it's important to have all the necessary ingredients at hand. Ghee is made from unsalted butter, and the quality of the butter you choose can greatly affect the final product. Using high-quality, grass-fed butter will yield the best flavor and nutritional value.
Now, let's gather our ingredients.
Ingredients:
– 1 pound unsalted butter
Cooking Instructions:
- Begin by placing the unsalted butter in your Instant Pot. Set the Instant Pot to the "Sauté" function and let the butter melt completely. Stir occasionally to guarantee even melting and to prevent any burning at the bottom.
- Once melted, switch the Instant Pot to the "Keep Warm" setting. Allow the butter to simmer gently for about 30-40 minutes. During this time, you'll notice the milk solids separating and sinking to the bottom while the golden liquid (ghee) rises to the top.
Keep an eye on it to avoid burning—if you see any browning on the milk solids, your ghee may be overcooking.
Extra Tips:
Be sure to choose a high-quality butter to start with, as this will greatly affect the flavor and purity of your ghee.
If you encounter issues like burnt solids or an overcooked smell, adjust the cooking time next time, and consider lowering the temperature.
Additionally, straining the ghee through a fine mesh sieve or cheesecloth will help eliminate any remaining milk solids, giving you a clearer final product.
Store your ghee in an airtight container in a cool, dark place, and it will last for several months!
Frequently Asked Questions
Can Ghee Be Made With Unsalted Butter?
You might think ghee requires special butter, but you can actually make it with unsalted butter! Just melt it down, simmer, and strain. You'll end up with rich, golden goodness that's perfect for cooking.
How Long Does Homemade Ghee Last?
Homemade ghee can last up to three months when stored in an airtight container in the fridge. If you freeze it, it can last up to a year. Always check for off smells before using.
Is Ghee Suitable for Lactose Intolerant Individuals?
Yes, ghee's suitable for lactose intolerant individuals. During the process of making ghee, milk solids and lactose are removed, leaving behind pure fat. You can enjoy its rich flavor without worrying about lactose intolerance symptoms.
Can I Use Ghee for Frying Foods?
Yes, you can use ghee for frying foods. Its high smoke point makes it ideal for cooking at high temperatures, ensuring your dishes stay flavorful without burning. Enjoy the rich taste it adds to your meals!
What Are the Nutritional Differences Between Ghee and Butter?
Ghee contains higher concentrations of beneficial fats and nutrients compared to butter, as it's clarified. You'll find it has a higher smoke point too, making it a healthier choice for cooking at high temperatures.