As an affiliate, we may earn a commission from qualifying purchases. We get commissions for purchases made through links on this website from Amazon and other third parties.
Did you know that grilling fish can enhance its natural flavors in ways you might not expect? It's not just about tossing it on the grill; the right techniques and marinades can transform your seafood dishes. With a variety of recipes to choose from, you can impress your guests with unique taste profiles that cater to every palate. Ready to discover some mouthwatering options that elevate your outdoor cooking experience?
Key Takeaways
- Choose fish with rich flavors like salmon, mahi-mahi, or swordfish for grilling to enhance your BBQ experience.
- Marinate your fish for at least 30 minutes to infuse flavor and tenderize the meat before grilling.
- Use a cedar plank or grill basket to prevent fish from sticking and falling apart during cooking.
- Monitor cooking time closely to achieve an internal temperature of 145°F and avoid overcooking.
- Pair your grilled fish with refreshing sides like salads or grilled vegetables for a balanced meal.
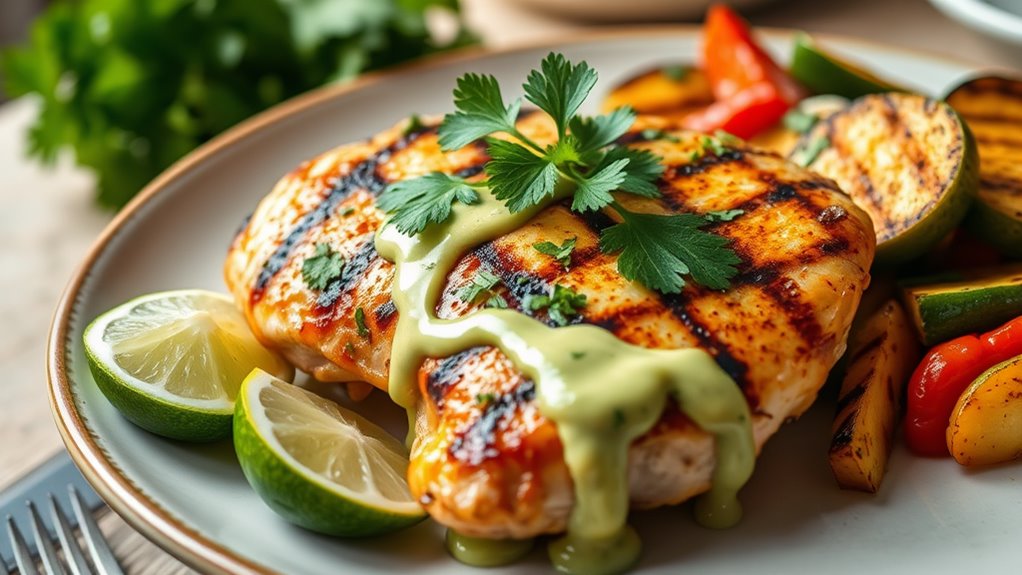
Grilled Lemon Herb Salmon
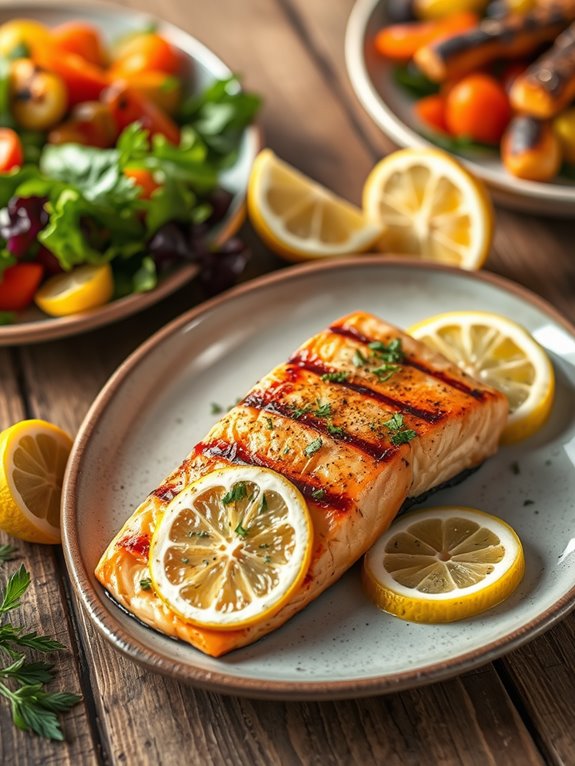
Grilled Lemon Herb Salmon is a delightful dish that perfectly combines the rich, buttery flavor of salmon with the invigorating zest of lemon and the aromatic qualities of fresh herbs. This easy-to-follow recipe brings together simple ingredients to create a mouthwatering meal that's perfect for any occasion, whether it's a summer barbecue, a family dinner, or a special gathering with friends.
The grilling process enhances the natural flavors of the fish while adding a smoky char that elevates this dish to new heights. To make this meal even more appealing, the marinade used in this recipe infuses the salmon with a burst of citrusy brightness and herbal notes, making every bite a flavor explosion.
Pair it with a fresh salad or grilled vegetables for a complete and healthy meal that will leave your guests raving about your culinary skills. With just a few minutes of preparation and cooking, you can enjoy a gourmet experience right in your own backyard.
Ingredients:
- 4 salmon fillets
- 2 tablespoons olive oil
- 2 lemons (juiced and zested)
- 3 cloves garlic (minced)
- 1 tablespoon fresh dill (chopped)
- 1 tablespoon fresh parsley (chopped)
- Salt and pepper to taste
To begin, prepare the marinade by whisking together the olive oil, lemon juice, lemon zest, minced garlic, dill, parsley, salt, and pepper in a bowl. Place the salmon fillets in a shallow dish or resealable plastic bag and pour the marinade over the fish, ensuring that each fillet is well-coated.
Allow the salmon to marinate in the refrigerator for at least 30 minutes, or up to 2 hours for more intense flavor. Preheat your grill to medium-high heat.
Once the grill is ready, remove the salmon from the marinade and let any excess drip off. Place the fillets skin-side down on the grill and cook for about 5-6 minutes. Carefully flip the salmon and grill for another 4-5 minutes, or until the fish flakes easily with a fork and has beautiful grill marks on both sides.
Remove the salmon from the grill and let it rest for a few minutes before serving. When grilling salmon, it's important to keep an eye on the cooking time to prevent overcooking, which can dry out the fish.
If you prefer, you can also use a grill basket or aluminum foil to prevent the salmon from sticking to the grill grates. Additionally, feel free to experiment with different herbs or add a dash of your favorite seasoning for a unique twist on this delicious dish. Enjoy your flavorful Grilled Lemon Herb Salmon!
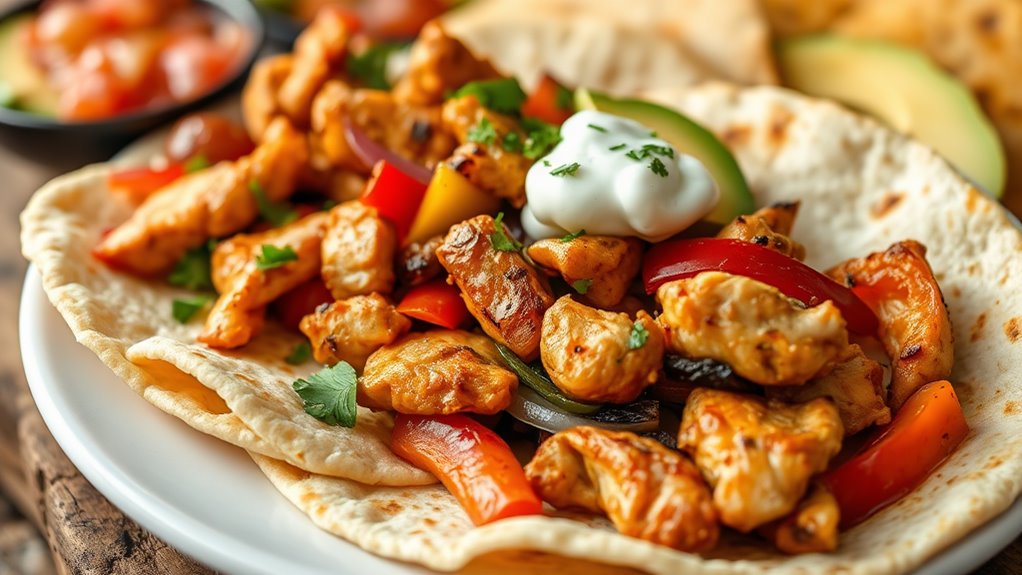
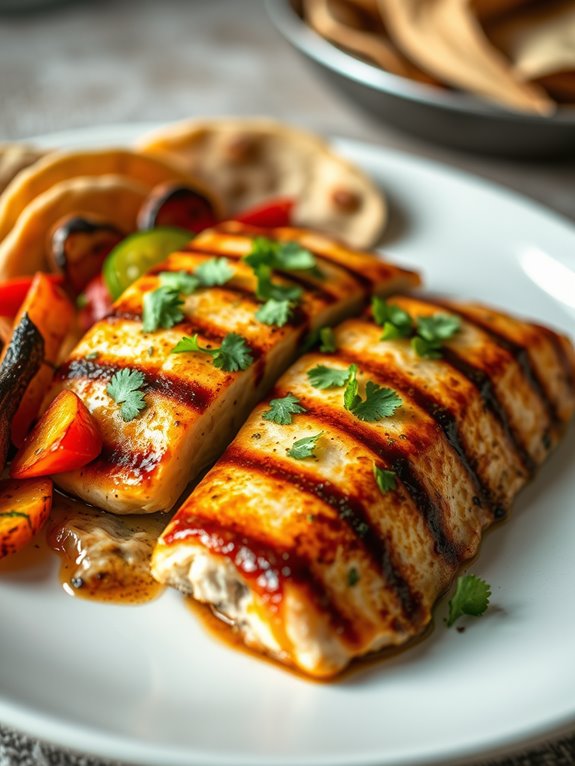
Spicy Grilled Mahi-Mahi Tacos
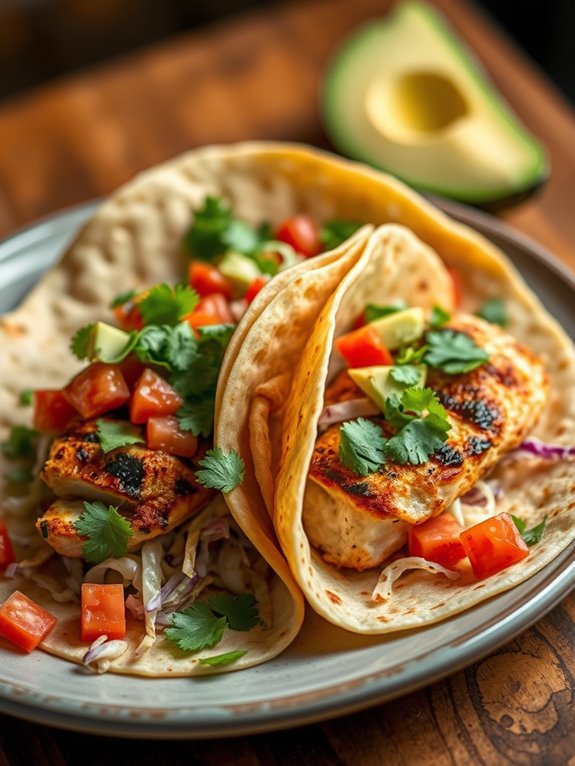
The combination of spices used in this recipe gives the fish a deliciously spicy crust, while the fresh toppings add crunch and brightness. Serve the fish in warm tortillas and top with an invigorating slaw and a drizzle of creamy sauce for a mouthwatering meal that everyone will love.
Ingredients:
- 1 pound mahi-mahi fillets
- 2 tablespoons olive oil
- 1 teaspoon chili powder
- 1 teaspoon paprika
- 1/2 teaspoon cumin
- 1/2 teaspoon garlic powder
- 1/2 teaspoon onion powder
- 1/4 teaspoon cayenne pepper (adjust to taste)
- Salt and pepper to taste
- Corn or flour tortillas
- 1 cup shredded cabbage
- 1/2 cup diced tomatoes
- 1/4 cup chopped cilantro
- 1 avocado, sliced
- Lime wedges, for serving
Cooking Instructions:
Start by preheating your grill to medium-high heat. In a small bowl, mix together the olive oil, chili powder, paprika, cumin, garlic powder, onion powder, cayenne pepper, salt, and pepper to create a spice rub.
Rub the mixture evenly over both sides of the mahi-mahi fillets. Grill the fish for about 4-5 minutes on each side, or until it flakes easily with a fork and has nice grill marks.
While the fish is grilling, warm your tortillas on the grill for about 30 seconds on each side until they're pliable. Once the fish is cooked, remove it from the grill and let it rest for a minute before slicing it into bite-sized pieces.
Assemble the tacos by placing a portion of the grilled mahi-mahi in each tortilla and topping with shredded cabbage, diced tomatoes, chopped cilantro, and slices of avocado. Serve with lime wedges on the side for an extra burst of flavor.
Extra Tips:
For an added layer of flavor, consider marinating the mahi-mahi in the spice mixture for 30 minutes before grilling. This will enhance the fish's taste and tenderness.
Additionally, feel free to customize your toppings; pickled jalapeños, a dollop of sour cream, or a zesty salsa can elevate your tacos even further. Enjoy your delicious spicy grilled mahi-mahi tacos with friends and family for a truly memorable meal!
Honey Garlic Glazed Trout
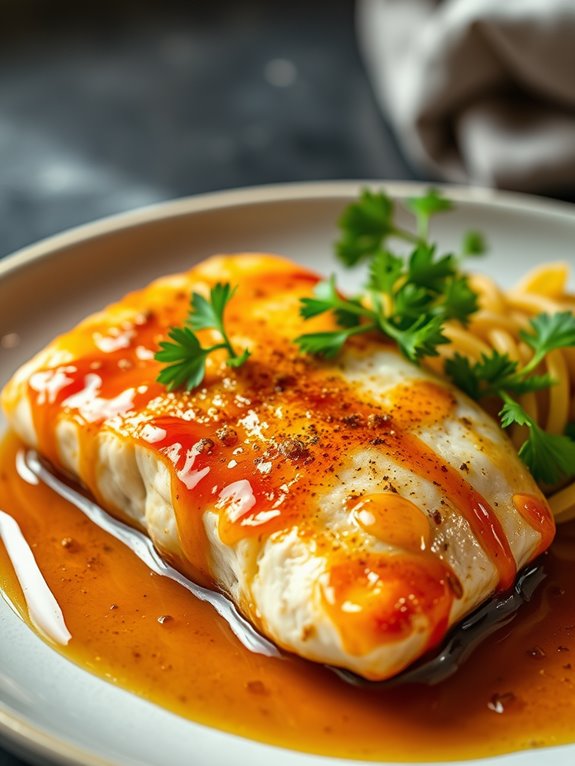
Honey Garlic Glazed Trout is a delightful dish that combines the natural flavors of fresh trout with a sweet and savory glaze. The honey and garlic infuse the fish with a beautiful aroma, making it irresistible to anyone who loves seafood.
This recipe isn't only simple to prepare but also cooks quickly on the grill, making it perfect for a summer BBQ or a cozy dinner at home. To make the most of this recipe, choose fresh trout fillets with skin on, as they provide extra flavor and help keep the fish moist while cooking.
Pair this dish with grilled vegetables or a light salad for a complete meal. Whether you're an experienced griller or just starting, you'll find that this honey garlic glazed trout is a fantastic addition to your BBQ repertoire.
Ingredients:
- 2 trout fillets, skin on
- 1/4 cup honey
- 2 tablespoons soy sauce
- 2 cloves garlic, minced
- 1 tablespoon olive oil
- 1 teaspoon lemon juice
- Salt and pepper to taste
- Fresh parsley, for garnish
Cooking Instructions:
Start by preparing the honey garlic glaze. In a small bowl, mix together honey, soy sauce, minced garlic, olive oil, lemon juice, and a pinch of salt and pepper. Set aside a small amount of the glaze for basting while grilling.
Preheat your grill to medium heat and lightly oil the grates to prevent sticking. Place the trout fillets on the grill, skin-side down. Brush the top of the fillets with the honey garlic glaze.
Grill the trout for about 4-5 minutes, then carefully flip the fillets to grill the other side for an additional 3-4 minutes, basting with the reserved glaze as you go. The trout is done when it flakes easily with a fork and has a beautiful caramelized appearance.
Remove from the grill, garnish with fresh parsley, and serve immediately.
Extra Tips:
When grilling trout, make sure that the fish is patted dry before applying the glaze. This will help achieve a nice sear and prevent the fish from sticking to the grill.
Additionally, feel free to customize the glaze with your favorite herbs or spices for an extra kick. If you're unable to grill outdoors, this recipe can also be adapted for a broiler in the oven, allowing you to enjoy the flavors of honey garlic glazed trout anytime!
Cedar Plank Grilled Swordfish
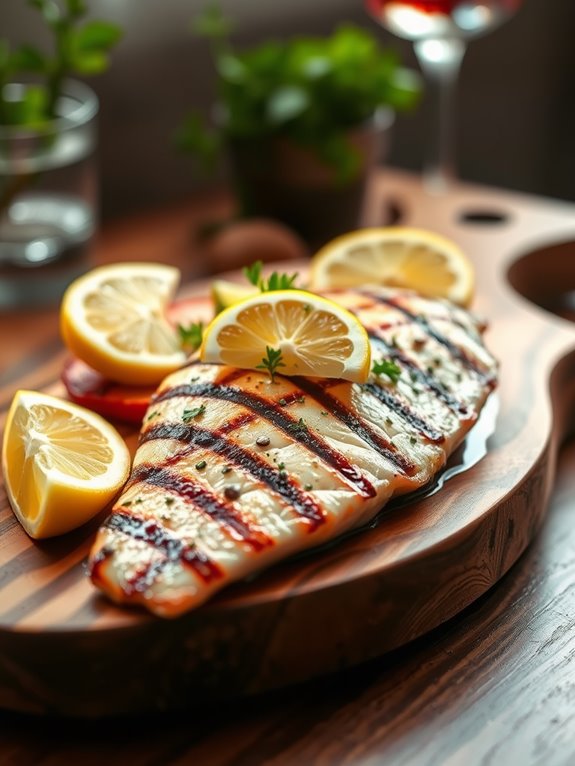
Cedar plank grilled swordfish is a delightful way to enjoy this meaty fish while infusing it with a subtle smoky flavor. The cedar plank not only acts as a cooking surface but also imparts a unique aroma that pairs beautifully with the rich taste of swordfish. This method is ideal for summer cookouts or any time you want to impress your guests with an elegant seafood dish.
To prepare this recipe, you'll want to start with high-quality swordfish steaks, ideally about 1-inch thick. Marinating the fish beforehand will enhance its flavor and tenderness. The combination of the marinade and the cedar plank will create a deliciously moist and flavorful swordfish that's sure to be a hit at your next gathering.
Ingredients:
- 2 swordfish steaks (about 1 inch thick)
- 1 cedar plank (soaked in water for at least 1 hour)
- 3 tablespoons olive oil
- 2 tablespoons lemon juice
- 2 cloves garlic, minced
- 1 teaspoon dried oregano
- Salt and pepper to taste
- Lemon wedges for serving
Cooking Instructions:
Begin by soaking the cedar plank in water for at least one hour to prevent it from catching fire on the grill. In a small bowl, whisk together olive oil, lemon juice, minced garlic, oregano, salt, and pepper.
Place the swordfish steaks in a shallow dish and pour the marinade over them, ensuring they're evenly coated. Let the fish marinate for at least 30 minutes.
Preheat your grill to medium-high heat. Once the grill is ready, place the soaked cedar plank directly on the grill grates and close the lid. Allow the plank to heat up for about 3-4 minutes until it starts to smoke.
Carefully place the marinated swordfish steaks on the cedar plank and close the lid again. Grill the swordfish for about 6-8 minutes on each side, or until it's cooked through and flakes easily with a fork.
Extra Tips:
Always keep a close eye on the grilling process, as the cedar plank can burn if left too long on high heat. You can add additional flavor by placing fresh herbs, like thyme or dill, on the plank before adding the swordfish.
For a touch of sweetness, consider adding a drizzle of honey to the marinade. Serve your grilled swordfish with fresh lemon wedges and some grilled vegetables for a complete meal.
BBQ Shrimp Skewers With Pineapple
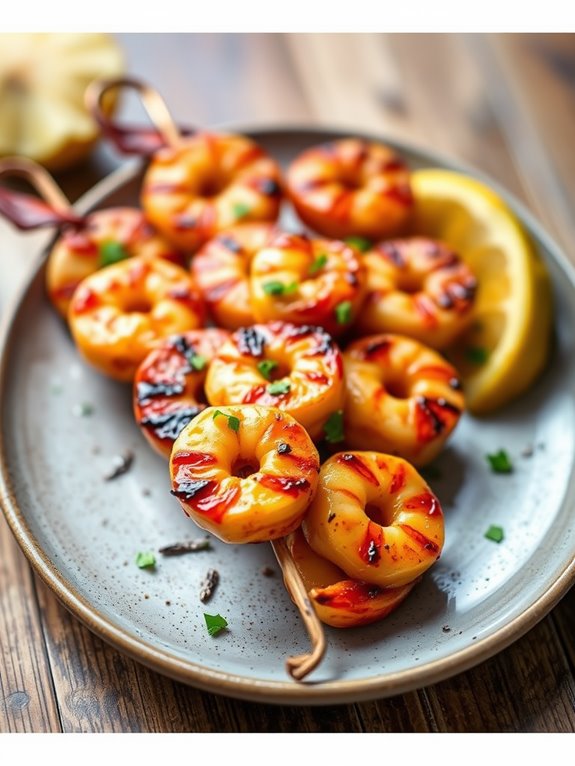
BBQ shrimp skewers with pineapple are the perfect blend of sweet and savory, making them an ideal dish for summer grilling or a backyard barbecue. The juicy shrimp, marinated in a flavorful mixture, paired with caramelized pieces of pineapple create a delightful explosion of flavors in every bite.
These skewers aren't only easy to prepare but also visually appealing, making them a great choice for entertaining guests or enjoying a meal with family. To make this dish even more appealing, the pineapple adds a touch of tropical sweetness that complements the shrimp beautifully.
Whether served as an appetizer or a main dish, these BBQ shrimp skewers are sure to impress. You can easily customize the recipe with your choice of spices or marinades to suit your taste preferences.
Ingredients:
- 1 pound large shrimp, peeled and deveined
- 1 cup fresh pineapple, cut into bite-sized chunks
- 2 tablespoons olive oil
- 2 tablespoons soy sauce
- 2 tablespoons honey
- 2 cloves garlic, minced
- 1 teaspoon ground ginger
- 1 teaspoon red pepper flakes (optional)
- Salt and pepper to taste
- Skewers (wooden or metal)
Cooking Instructions:
In a bowl, combine olive oil, soy sauce, honey, minced garlic, ground ginger, red pepper flakes, salt, and pepper to create the marinade. Add the shrimp to the bowl and toss to coat evenly. Let the shrimp marinate for at least 30 minutes in the refrigerator to absorb the flavors.
If using wooden skewers, soak them in water for about 30 minutes before grilling to prevent burning. Once marinated, alternate threading the shrimp and pineapple chunks onto the skewers. Preheat your grill to medium-high heat.
Place the skewers on the grill and cook for about 2-3 minutes on each side, or until the shrimp are pink and opaque and the pineapple is slightly charred. Remove from the grill and serve hot.
Extra Tips:
To enhance the flavor of your BBQ shrimp skewers, consider adding a splash of lime juice or zest to the marinade for a citrusy twist. You can also experiment with different types of marinades, such as teriyaki or a spicy chili sauce, to create your own unique version of this dish.
If you're grilling for a larger crowd, feel free to double the recipe and prepare more skewers ahead of time, making it easy to serve everyone without the hassle.
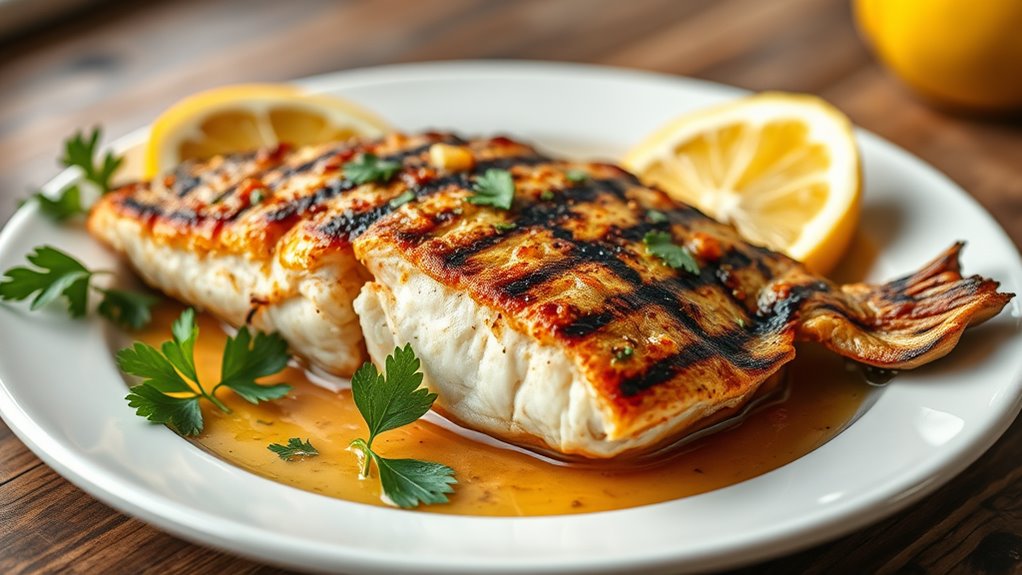
Mediterranean Grilled Sardines

Mediterranean Grilled Sardines are a delightful dish that brings the flavors of the Mediterranean right to your backyard. These small fish are packed with omega-3 fatty acids and are incredibly easy to prepare, making them a perfect choice for a summer barbecue. The natural oils in sardines keep them moist while grilling, and when combined with fresh herbs and lemon, they create a dish that's both simple and bursting with flavor.
Grilling sardines isn't just about cooking; it's about enjoying the process and the company of friends and family. This recipe showcases the beauty of fresh, high-quality ingredients. With just a few steps, you can enjoy a dish that feels sophisticated yet is incredibly approachable for any home cook. Serve them with a side of grilled vegetables or a fresh salad for a complete meal.
Ingredients:
- 1 pound fresh sardines, cleaned and scaled
- 4 tablespoons olive oil
- 2 lemons (one for juice, one for wedges)
- 3 cloves garlic, minced
- 1 tablespoon fresh parsley, chopped
- 1 teaspoon salt
- 1 teaspoon black pepper
- Optional: a pinch of red pepper flakes for heat
Cooking Instructions:
Start by preparing the sardines. Rinse them under cold water and pat them dry with paper towels. In a bowl, mix together the olive oil, lemon juice, minced garlic, parsley, salt, pepper, and red pepper flakes if using. Coat the sardines in the marinade and let them sit for at least 20 minutes to absorb the flavors.
Preheat your grill to medium-high heat. Once hot, place the sardines directly on the grill grates. Grill for about 3-4 minutes on each side, or until the skin is crispy and the flesh is opaque and flakes easily with a fork. Be cautious while flipping to avoid breaking the fish. Serve immediately with lemon wedges on the side.
Extra Tips:
For the best results, choose fresh sardines from a reputable fish market. If you can't find fresh sardines, you can also use frozen ones, but be sure to thaw them completely and pat them dry before marinating.
Additionally, using a fish basket or grilling mat can help prevent the sardines from sticking to the grill and breaking apart. Enjoy your Mediterranean feast with a glass of white wine for the perfect pairing!
Smoky Chipotle Grilled Tilapia
To achieve the best flavor, it's important to let the tilapia marinate for at least 30 minutes before grilling. This allows the smoky chipotle flavors to infuse into the fish, ensuring every bite is packed with taste.
Pair this grilled tilapia with a fresh salad, grilled vegetables, or some warm tortillas for a complete meal that's both satisfying and healthy.
Ingredients:
- 4 tilapia fillets
- 2 tablespoons olive oil
- 2 tablespoons chipotle peppers in adobo sauce, minced
- 1 tablespoon honey
- 2 cloves garlic, minced
- Juice of 1 lime
- Salt and pepper to taste
- Fresh cilantro for garnish (optional)
Cooking Instructions:
In a bowl, whisk together the olive oil, minced chipotle peppers, honey, garlic, lime juice, salt, and pepper until well combined.
Place the tilapia fillets in a shallow dish and pour the marinade over the fish, ensuring each piece is evenly coated. Cover and refrigerate for at least 30 minutes to let the flavors meld.
Preheat your grill to medium-high heat. Once heated, lightly oil the grill grates to prevent sticking.
Place the marinated tilapia fillets on the grill and cook for about 4-5 minutes on each side, or until the fish flakes easily with a fork and has nice grill marks.
Remove from the grill and let rest for a couple of minutes before serving. Garnish with fresh cilantro if desired.
Extra Tips:
For the best results, choose fresh tilapia fillets that are firm and have a mild scent.
If you're looking for a milder flavor, you can reduce the amount of chipotle peppers or use a different type of marinade.
Additionally, grilling in a fish basket can help prevent the fillets from falling apart on the grill.
Enjoy your smoky chipotle grilled tilapia with your favorite sides for a delightful meal!
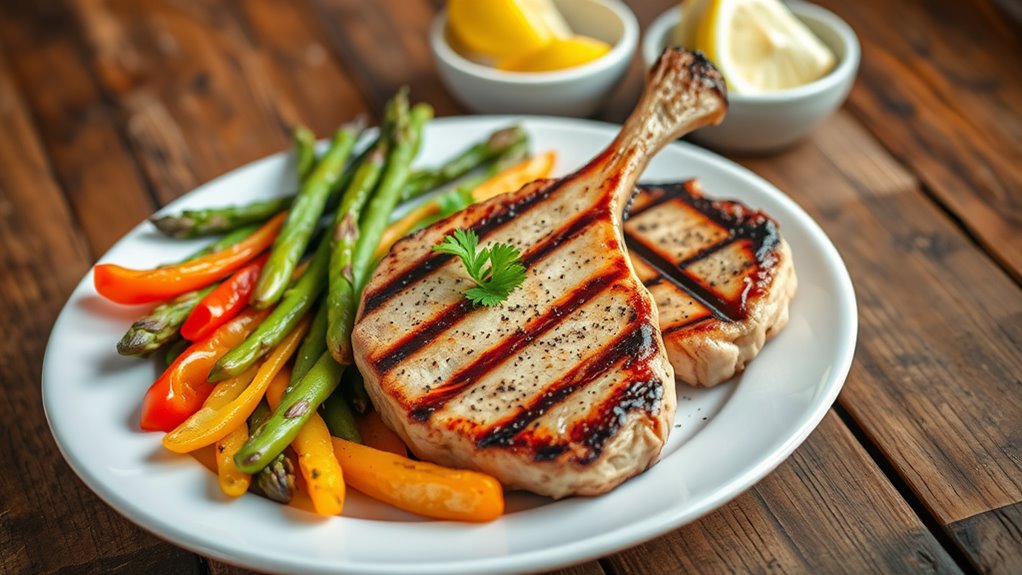
Teriyaki Grilled Halibut
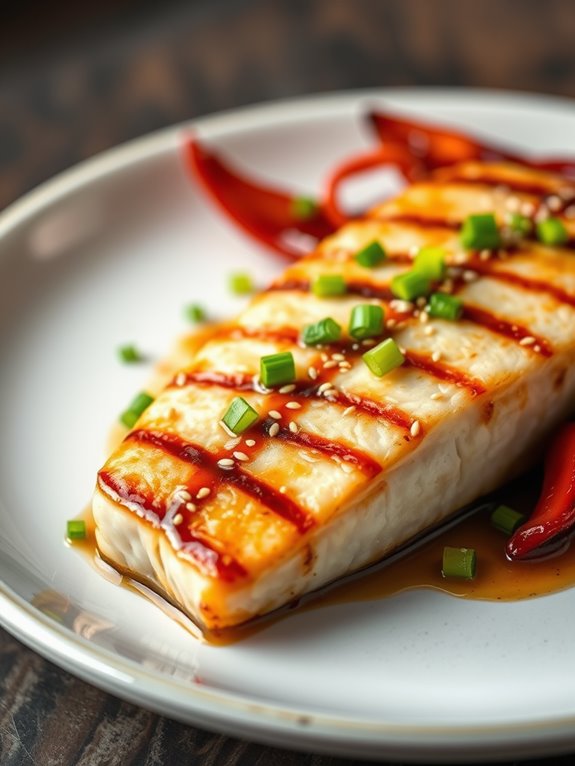
Before you fire up the grill, gather all the ingredients needed to create the perfect teriyaki grilled halibut. The marinade infuses the fish with flavor while it cooks, guaranteeing a delicious meal that's both healthy and satisfying. Let's get started!
Ingredients:
- 4 halibut fillets (about 6 ounces each)
- 1/2 cup soy sauce
- 1/4 cup honey
- 2 tablespoons rice vinegar
- 1 tablespoon sesame oil
- 2 cloves garlic, minced
- 1 teaspoon grated fresh ginger
- 1 tablespoon sesame seeds
- 2 green onions, chopped (for garnish)
Cooking Instructions:
1. In a bowl, whisk together the soy sauce, honey, rice vinegar, sesame oil, minced garlic, and grated ginger to create the teriyaki marinade.
Place the halibut fillets in a shallow dish or resealable plastic bag and pour the marinade over them. Allow the fish to marinate for at least 30 minutes, but no more than 2 hours for peak flavor absorption.
2. Preheat your grill to medium-high heat. Remove the halibut from the marinade, allowing any excess liquid to drip off.
Place the fillets directly on the grill grates. Grill for about 4-5 minutes on each side, or until the fish is cooked through and flakes easily with a fork. During the last minute of grilling, sprinkle sesame seeds over the fish for added texture and flavor.
Extra Tips:
To guarantee the halibut doesn't stick to the grill, make sure to oil the grates before placing the fish on them.
Additionally, if you prefer a more intense flavor, consider brushing the halibut with additional marinade during the last couple of minutes of grilling. Always check that the fish reaches an internal temperature of 145°F for safe consumption.
Enjoy your teriyaki grilled halibut with steamed rice or a fresh salad for a complete meal!
Citrus Marinated Grilled Snapper
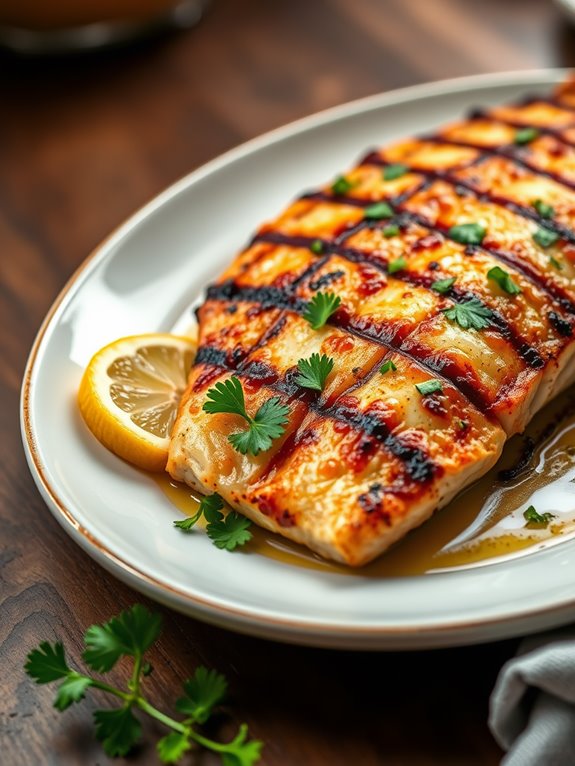
Citrus marinated grilled snapper is a vibrant and invigorating dish that perfectly showcases the natural flavors of the fish. The combination of citrus juices not only brightens the taste but also tenderizes the snapper, making it incredibly succulent when grilled. This recipe is perfect for summer barbecues or any occasion where you want to impress your guests with a dish that's both easy to prepare and delicious.
The marinade is a delightful blend of zesty lemon, tangy lime, and sweet orange, which complements the snapper beautifully. Grilling the fish enhances its flavor while adding a smoky char that pairs perfectly with the citrus notes. With minimal prep time and quick cooking, this dish is sure to be a hit at your next outdoor gathering.
Ingredients:
- 2 whole snapper, cleaned and scaled
- 1/4 cup fresh lemon juice
- 1/4 cup fresh lime juice
- 1/4 cup fresh orange juice
- 3 cloves garlic, minced
- 1 teaspoon salt
- 1 teaspoon black pepper
- 1/4 cup olive oil
- 1 tablespoon chopped fresh parsley (for garnish)
- Lemon slices (for serving)
To prepare the citrus marinated grilled snapper, start by making the marinade. In a bowl, whisk together the lemon juice, lime juice, orange juice, minced garlic, salt, black pepper, and olive oil until well combined.
Place the cleaned snapper in a large resealable plastic bag or a shallow dish and pour the marinade over the fish. Seal the bag or cover the dish and refrigerate for at least 30 minutes, allowing the snapper to absorb the flavors.
Preheat your grill to medium-high heat. Remove the snapper from the marinade and let any excess drip off. Place the fish on the grill and cook for about 6-8 minutes per side, depending on the thickness of the fish, until the flesh is opaque and flakes easily with a fork.
Once cooked, remove the snapper from the grill and let it rest for a few minutes. Serve the grilled snapper garnished with fresh parsley and lemon slices.
Extra Tips:
For the best results, choose fresh snapper from a local fish market, and be sure to let the fish marinate long enough to develop flavor, but not too long as the acidity from the citrus can begin to "cook" the fish.
When grilling, consider using a fish basket or aluminum foil to prevent the fish from sticking to the grill grates. Enjoy your citrus marinated grilled snapper with a side of grilled vegetables or a fresh salad for a complete meal!
Frequently Asked Questions
What Types of Fish Are Best for Grilling?
When you think of grilling, imagine fish doing a synchronized dance over flames. For the best results, stick to firm fish like salmon, swordfish, or tuna. They'll hold up, unlike your last attempt at cooking!
How Can I Prevent Fish From Sticking to the Grill?
To prevent fish from sticking to the grill, make sure it's clean and well-oiled. Use a high heat for preheating, and don't flip the fish too soon—let it develop a nice crust first.
What Are Some Good Side Dishes for BBQ Fish?
For BBQ fish, you can pair it with invigorating coleslaw, grilled asparagus, or a light quinoa salad. These sides complement the fish's flavors and add a vibrant touch to your outdoor meal. Enjoy!
How Do I Know When the Fish Is Done Cooking?
To know when your fish is done cooking, check its internal temperature; it should reach 145°F. The flesh should be opaque and flake easily with a fork. Trust your instincts and enjoy the process!
Can I Use Frozen Fish for Grilling Recipes?
Yes, you can use frozen fish for grilling recipes. Just thaw it properly before cooking to guarantee even grilling. Keep an eye on cooking time, as frozen fish may take a bit longer to cook through.